Chapter 7: Testing
Automatically testing code is important when working on a codebase. It helps ensure we don’t introduce (too many) bugs or regressions. Let us see how to test our code.
The solutions for each exercise of the chapter are hosted on the official Flectra tutorials repository.
1. Integration testing
To make sure our application works as expected, we can perform integration testing by creating a tour: this is a sequence of steps that we can execute. Each step wait until some desired DOM state is reached, then performs an action. If, at some point, it is unable to go to the next step for a long time, the tour fails.
Let’s write a tour to ensure that it is possible to perform an tshirt order from our public route
Exercise
In the
awesome_tshirtaddon, add a/static/tests/toursfolder.Add a
/static/tests/tours/order_flow.jsfile.Add a tour that performs the following steps:
Open the
/awesome_tshirt/orderroute.Fill the order form.
Validate it.
Navigate to our webclient.
Open the list view for the the t-shirt order.
Check that our order can be found in the list.
Run the tour manually.
Add a Python test to run it programmatically.
Run the tour from the terminal.
2. Unit testing a Component
It is also useful to test independently a component or a piece of code. QUnit tests are useful to quickly locate an issue.
Exercise
In the
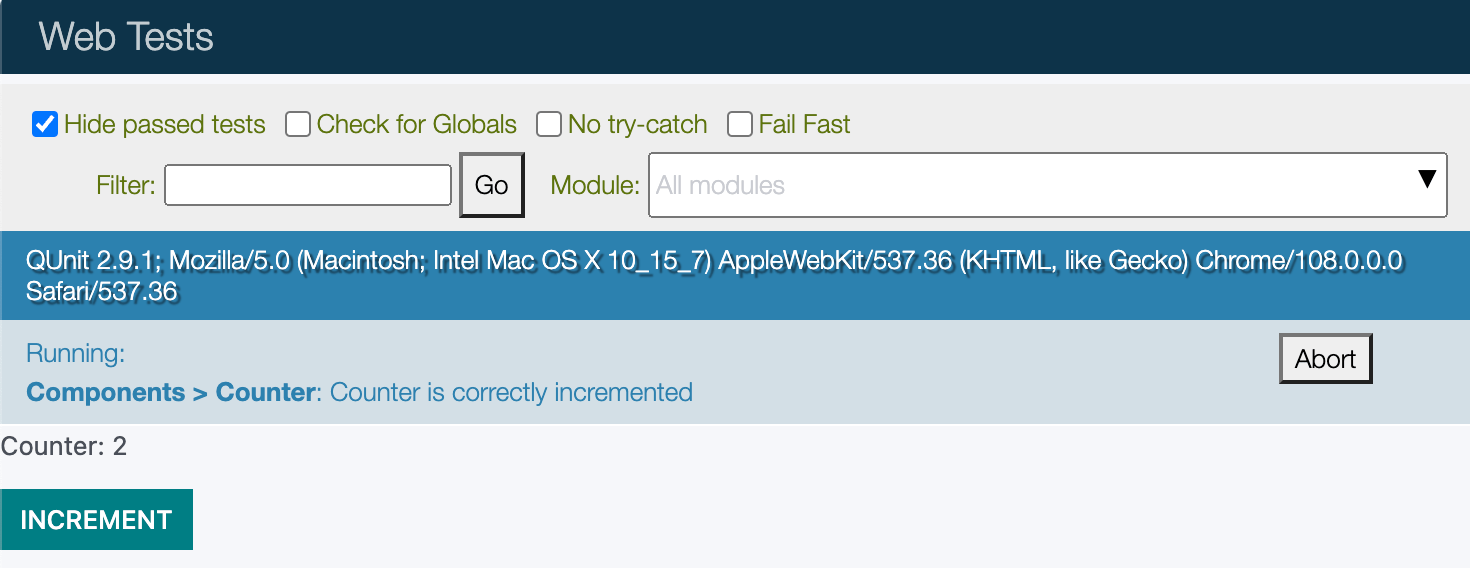
awesome_tshirtaddon, add astatic/tests/counter_tests.jsfile.Add a QUnit test that instantiates a counter, clicks on it, and makes sure it is incremented.

3. Unit testing our gallery view
Many components need more setup to be tested. In particular, we often need to mock some demo data. Let us see how to do that.
Note
This depends on our Gallery View from Chapter 6: Creating a view from scratch.
Exercise
In the
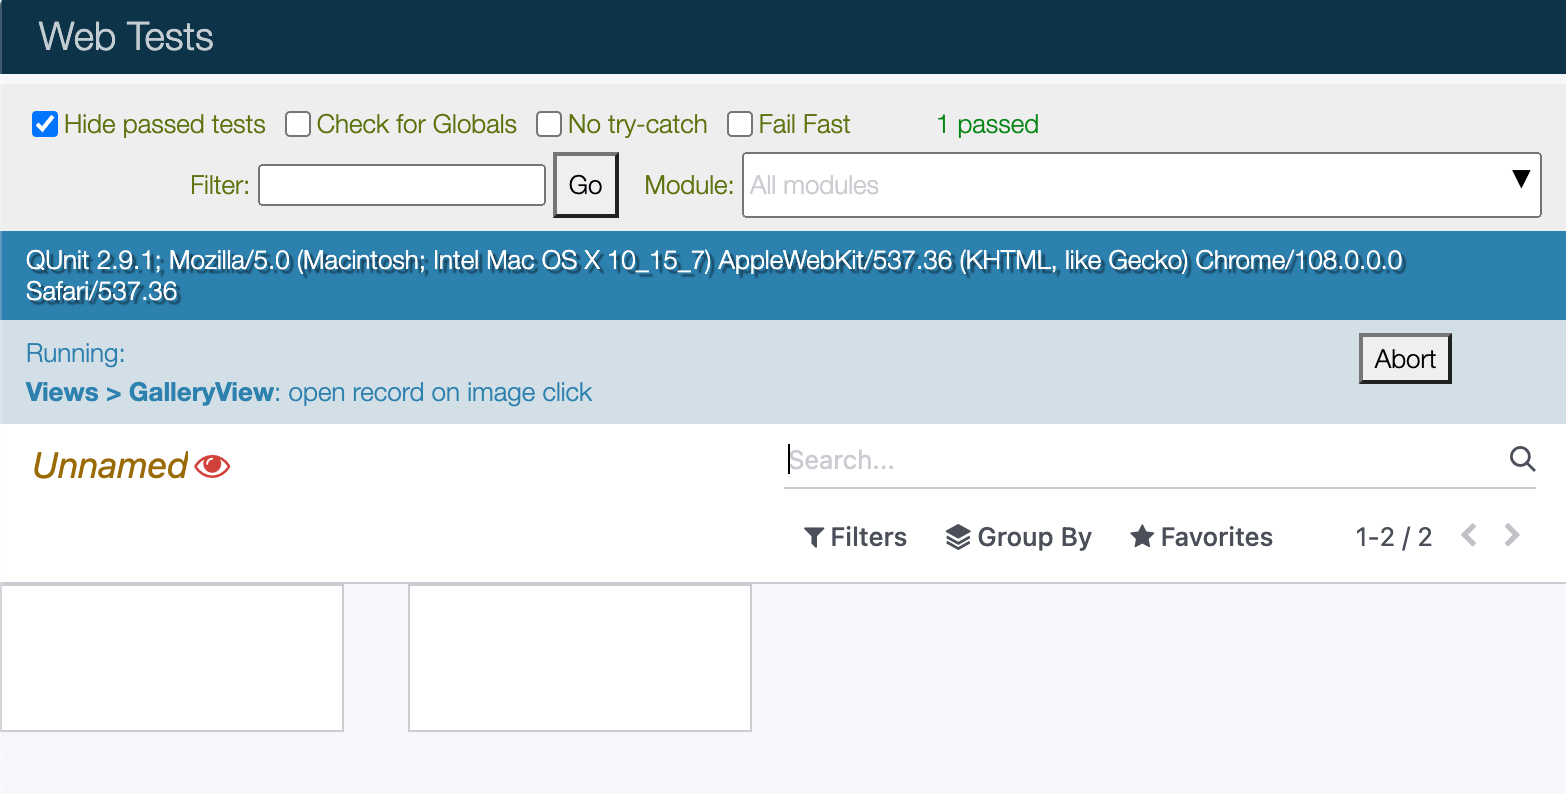
awesome_galleryaddon, add a/static/tests/gallery_view_tests.jsfile.Add a test that instantiates the gallery view with some demo data.
Add another test that checks that when the user clicks on an image, it is switched to the form view of the corresponding order.

See also