Expenses
Flectra Expenses streamlines the management of expenses. Employees can submit their expenses; managers can approve them; accountants can record them and process the payments.
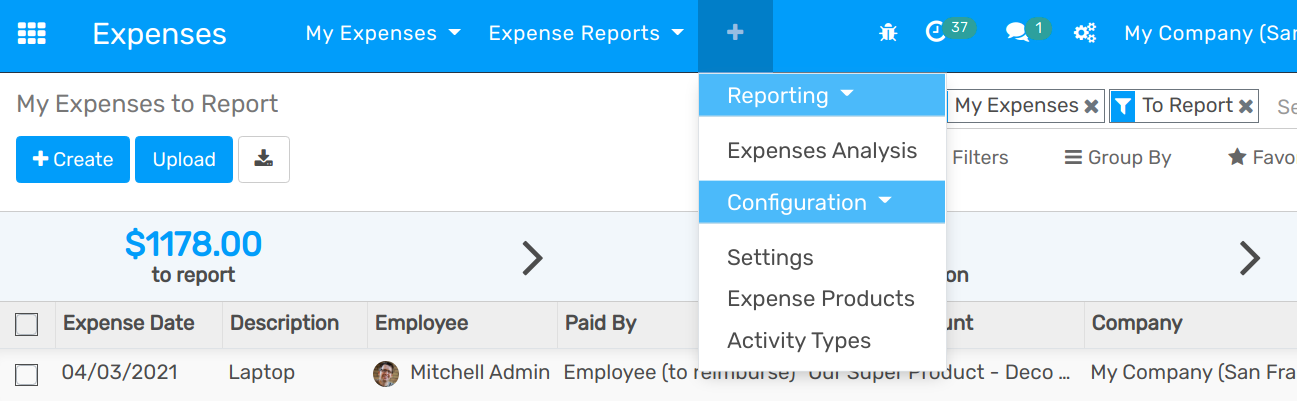
How to set expense types
The first step to track expenses is to configure the expense types (managed as products in Flectra) that your company allows, from the Configuration menu. When a specific expense is reimbursed at a fixed price, set a cost on the product. Otherwise keep the cost at 0.0 and employees will report the real cost per expense.
Here are some examples to configure:
Restaurant:
Cost: 0.00 (the cost of the ticket will be recorded on every expense)
Travel with Personal Car:
Cost: 0.30 (the price per mile reimbursed by the company is fixed)
Hotel:
Cost: 0.00 (the cost of the ticket will be recorded on every expense)
Others:
Cost: 0.0
Don’t forget to set an expense tax on each expense type (and an account if you use Flectra Accounting). It’s usually a good practice to use a tax that is configured with Tax Included in Price. That way, employees report expenses with prices including taxes, which is usually the expected behaviour.
Tip
The Sales app allows you to specify unit of measures for your expense types (units, miles, nights, etc.). Go to and check Some products may be sold/purchased in different units of measure (advanced).
How to record expenses
Manually
As an employee (Employee in user access rights), you can record expenses from .
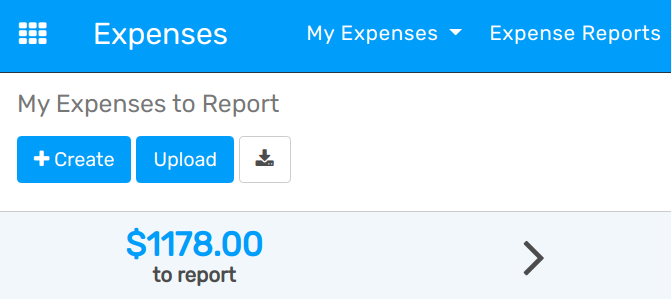
Select the related product and enter either the total amount you paid (with Quantity = 1) or the unit price if Quantity is countable (e.g. number of hotel nights).
Enter the expense date.
Choose if you paid the bill on your own (and expect to be reimbursed) or if the company paid directly (e.g. if you used a company’s credit card).
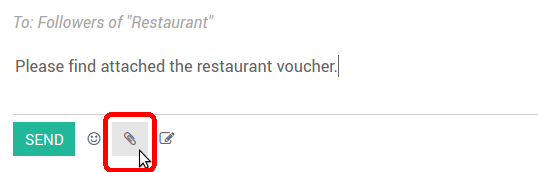
Set the bill reference, add some notes if requested and attach a photo/scan of the receipt from the discussion thread. That will help the manager and the accountant validate it.
In one click from emails
Let your employees record their expenses from a simple email. Make a snapshot of the receipt and send it by email, or simply forward a bill!
The only thing to do is setting up an email alias in (e.g. expenses @mycompany.flectrahq.com). For security purposes, only authenticated employee emails (cfr. Work Email in employee detail form) are accepted.
Tip
The expense product is set automatically if the mail subject contains the product’s internal reference in first position. Type the expense amount in the mail subject to set it on the expense too (e.g. Ref001 Food 100€).
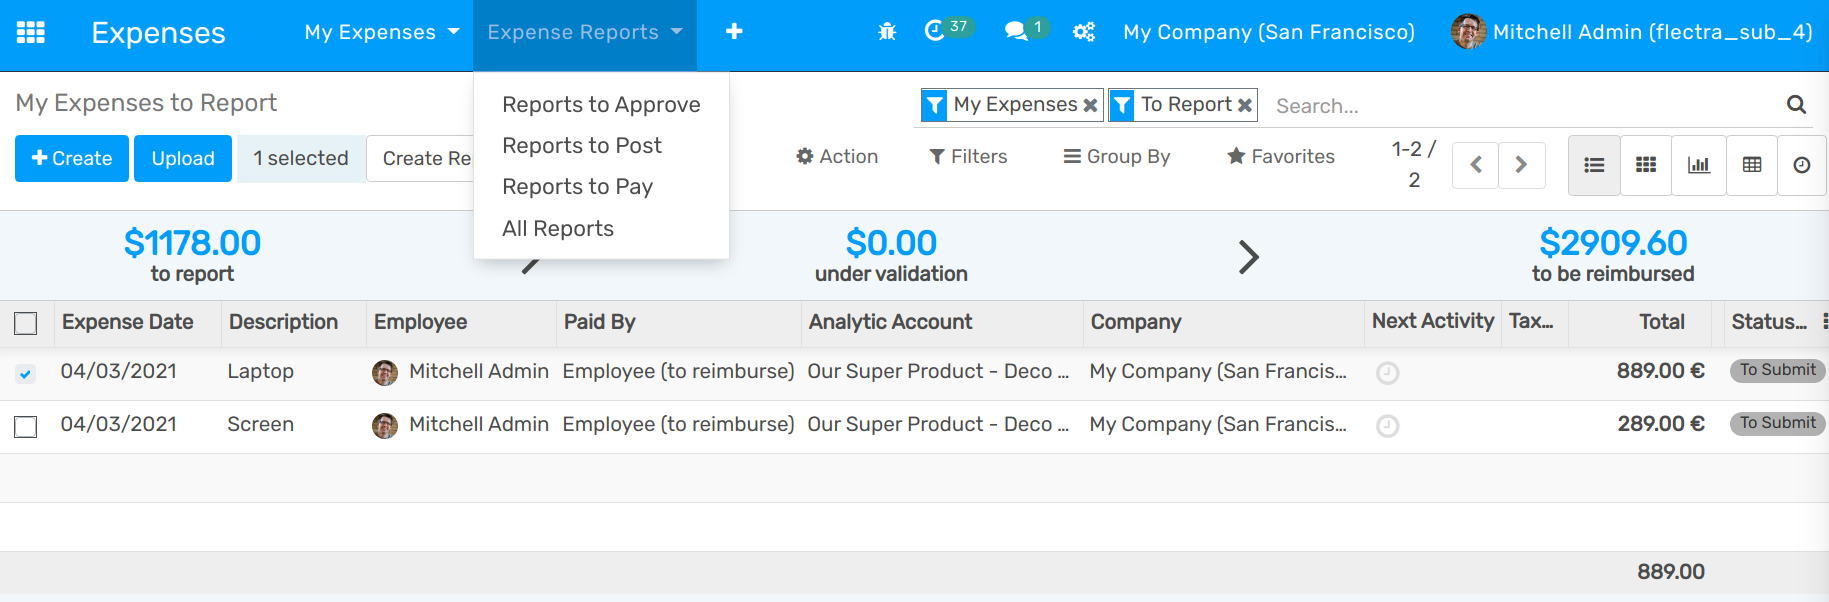
How to submit expenses to managers
When you are ready to submit your expenses to your manager (e.g. at the end of a business trip, or once a month), go to the menu . Select all expenses from the list view and click on . Save the newly created expense report (i.e. set of expenses), and wait for your manager to approve it.

You can also submit expenses one by one from the Submit to Manager button on the form view of an expense.
All your submitted expense reports can be found in .
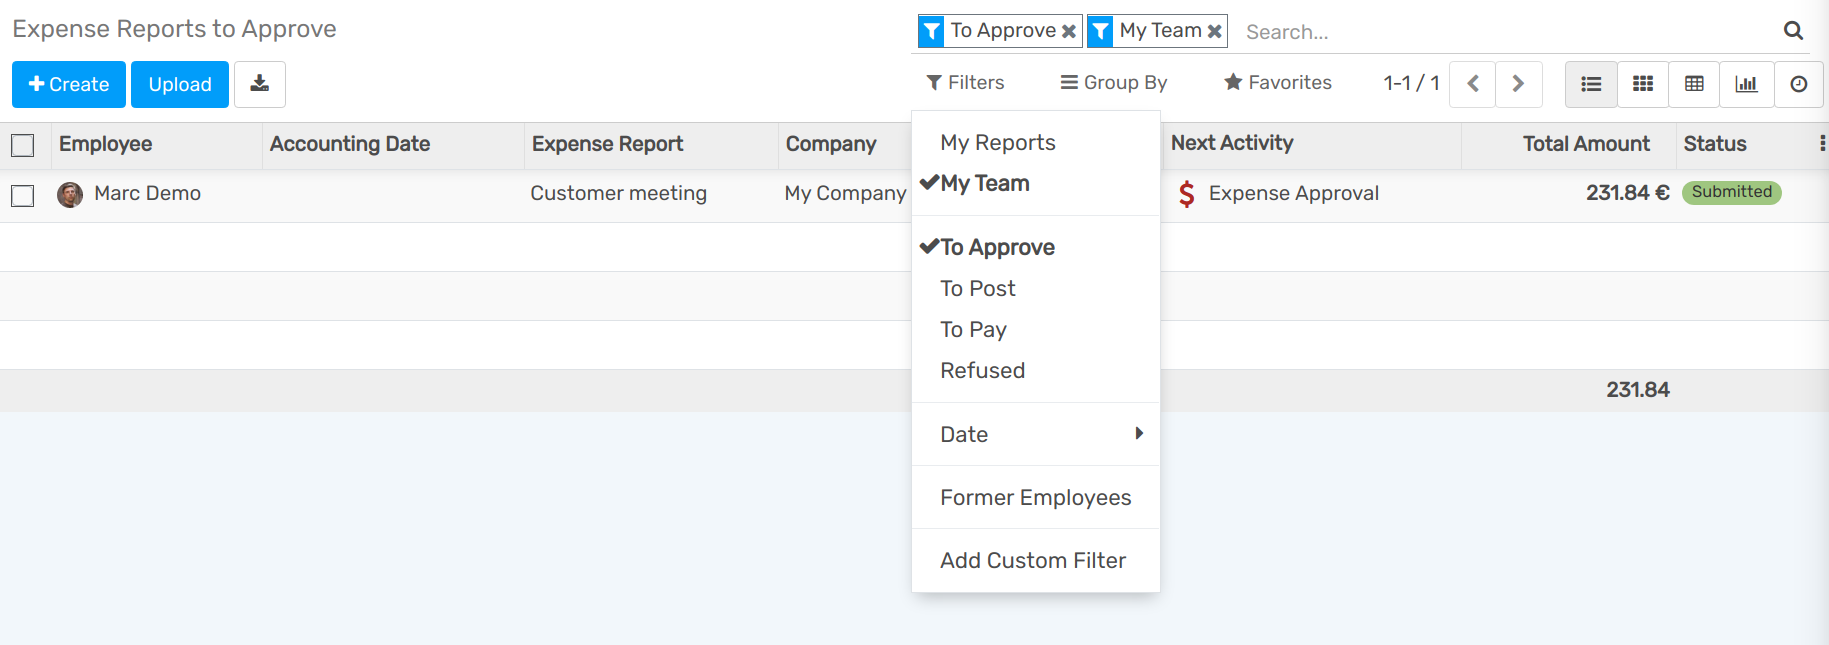
How to approve expenses
HR and team managers get an overview of all expense reports to validate from the top menu . Such users must have at least Officers access rights for Expenses.
They can review expense reports, approve or reject them, as well as providing feedback thanks to the integrated communication tool.

As a team manager you can easily find the expense reports of your team members. You need to be set as manager in the detail form of those employees.
How to post expenses in accounting
Once expense reports approved by managers, the accounting department goes to to check accounts, products and taxes. They can click Post Journal Entries to post related journal entries into your books. To do so, the user must have following access rights:
Accounting: Accountant or Adviser
Expenses: Manager
Note
To post an expense, a Home Address must be set on the employee. If you get a related blocking message when posting, click the employee, go to Personal Information tab and select/create the contact of your employee in the address book. A contact has been automatically created if this person is using Flectra.
How to reimburse employees
You can now see all the expense reports to reimburse in . To record the payment or pay by check, click Register a Payment.
See how you can easily manage the payment process in Flectra:
How to re-invoice expenses to your customers
If you track expenses on customer projects, you can charge them back to your customers automatically.
Setup
Enable Customer Billing in the Expenses settings
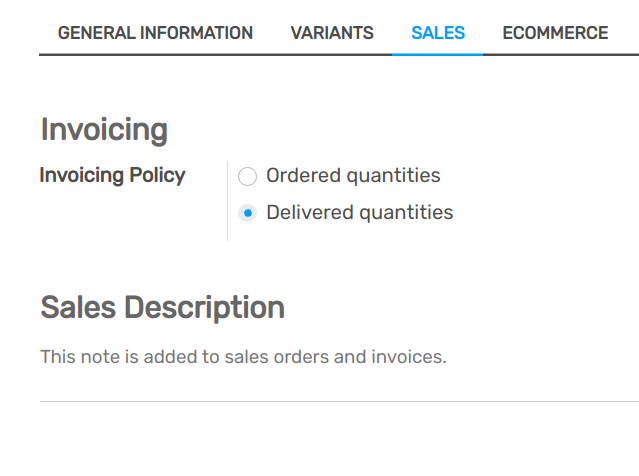
Go to the product configuration menu and set the invoicing method on all your Expense types:
Ordered quantities : it will invoice expenses based on the ordered quantity
Delivered quantities :it will invoice expenses based on the expenses quantity
At cost: will invoice expenses at their real cost.
At sales price: will invoice based on a fixed sales price set on the sale order.