Configure your Paypal account
Paypal is available and popular worldwide. It doesn’t charge any subscription fee and creating an account is very easy. That’s why we definitely recommend it for starters in Flectra. It works as a seamless flow where the customer is routed to Paypal website to register the payment.
Paypal account
A business account is needed to get paid with Paypal. Create a Paypal Business Account or upgrade your Personal account to a Business account. Go to the Paypal settings and click on Upgrade to a Business account. Then follow the few configuration steps.
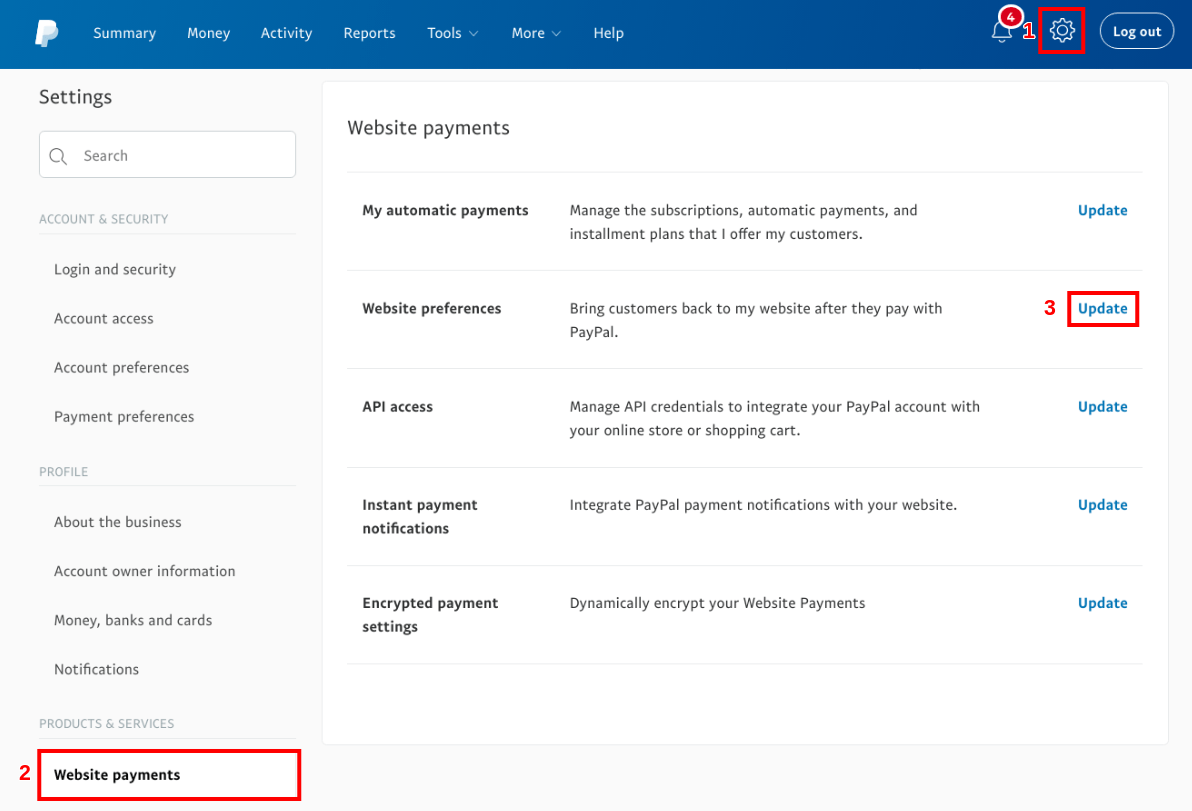
Settings in Paypal
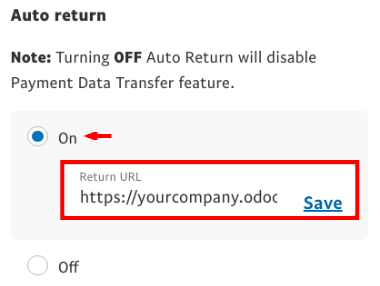
Auto Return
Auto Return automatically redirects your customers to Flectra once the
payment is processed. Check Auto Return and enter your domain name
with the suffix /shop/confirmation as Return URL
(e.g. https://yourcompany.flectrahq.com/shop/confirmation).
This URL is requested in Paypal but not used in practice as Flectra transmits it at each transaction. Don’t worry if you manage several sales channels or Flectra databases.
Payment Data Transfer (PDT)
Payment Data Transfer delivers the payment confirmation to Flectra as soon as it is processed. Without it, Flectra cannot end the sales flow. This setting must be activated as well. When saving, an Identity Token is generated. You will be later requested to enter it in Flectra.

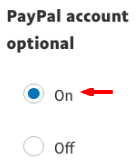
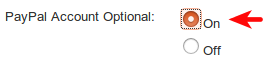
Paypal Account Optional
We advise you to not prompt customers to log in with a Paypal account when they get to pay. Let them pay with debit/credit cards as well, or you might lose some deals. Make sure this setting is turned on.
Instant Payment Notification (IPN)
PDT sends order confirmations once and only once. As a result, your site must be running when it happens; otherwise, it will never receive the message. That’s why we advise to activate the Instant Payment Notification (IPN) on top. With IPN, delivery of order confirmations is virtually guaranteed since IPN resends a confirmation until your site acknowledges receipt.
https://yourcompany.flectrahq.com/payment/paypal/ipn).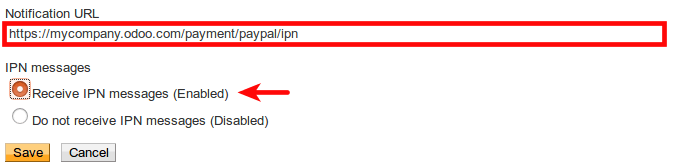
Payment Messages Format
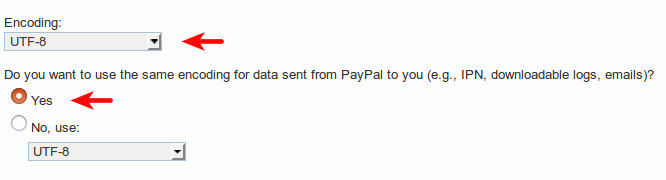
If you use accented characters (or anything else than basic Latin characters) for your customer names, addresses… you MUST configure the encoding format of the payment request sent by Flectra to Paypal.
Danger
If you don’t configure this setting, some transactions fail without notice.
To do so, open:
Then, click More Options and set the two default encoding formats as UTF-8.

Your Paypal account is ready!
Tip
If you want your customers to pay without creating a Paypal account, Paypal Account Optional needs to be turned on.
Tip
For Encrypted Website Payments & EWP_SETTINGS error, please check the Paypal documentation.
Settings in Flectra
Activation
Activate Paypal from the config bar of Sales, Invoicing and eCommerce apps, or from the configuration menu of Payment Acquirers.
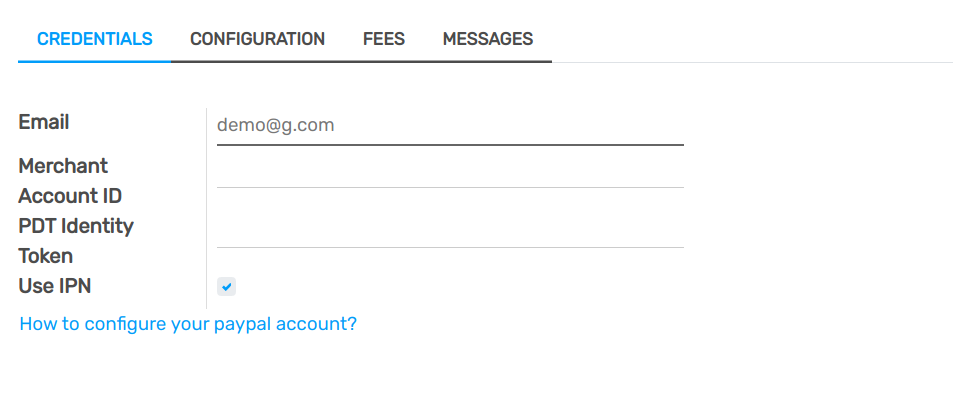
Credentials
Flectra requires three Paypal credentials:
Email ID is your login email address in Paypal.
Merchant ID can be found in the settings of your Paypal account, in .
Paypal PDT Token is given in Website payments configuration as explained here above.
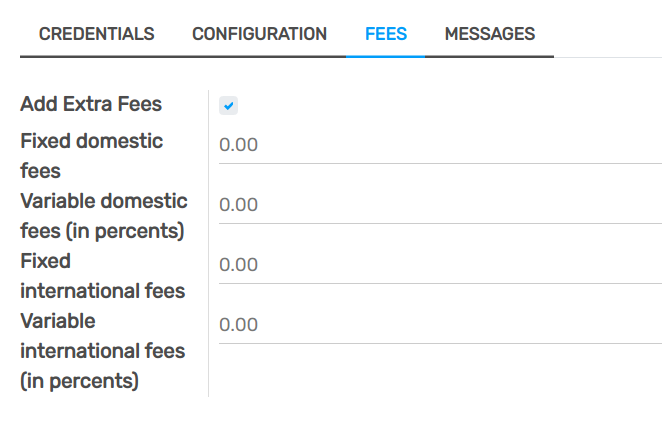
Transaction fees
You can charge extra fees to your customers for paying with Paypal; This to cover the transaction fees Paypal charges you. Once redirected to Paypal, your customer sees an extra applied to the order amount.
To activate this, go to the Configuration tab of Paypal configuration in Flectra and check Add Extra Fees.
You can refer to Paypal Fees to set up fees.
Note
Traders in the EU are not allowed to charge extra fees for paying with credit cards.
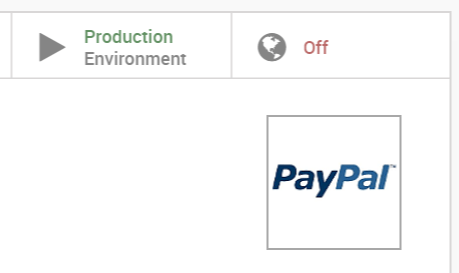
Go live!
Your configuration is ready to roll. Make sure Production mode is on. Then publish the payment method by clicking the Published button right next to it.
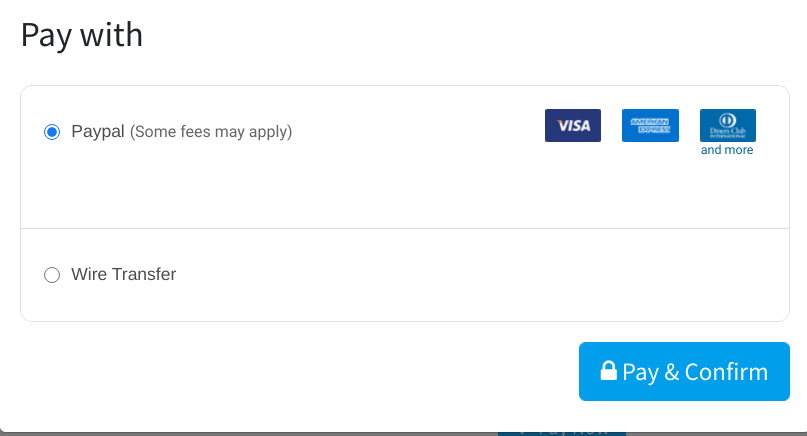
Paypal is now available in your payment form available in eCommerce, Sales and Invoicing apps. Customers are redirected to Paypal website when hitting Pay Now. They get back to a confirmation page in Flectra once the payment is processed.
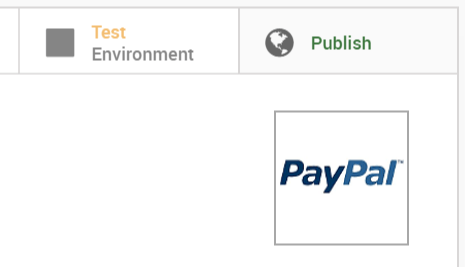
Test environment
You can test the entire payment flow in Flectra thanks to Paypal Sandbox accounts.
Log in to Paypal Developer Site with your Paypal credentials.
This will create two sandbox accounts:
A business account (to use as merchant, e.g. pp.merch01-facilitator@example.com).
A default personal account (to use as shopper, e.g. pp.merch01-buyer@example.com).
Log in to Paypal Sandbox with the merchant account and follow the same configuration instructions. Enter your sandbox credentials in Flectra and make sure Paypal is still set on Test Environment. Also, make sure the automatic invoicing is not activated in your eCommerce settings, to not generate invoices when a fictitious transaction is completed.
Run a test transaction from Flectra using the sandbox personal account.