Two-factor Authentication
Two-factor authentication (“2FA”) is a good way to improve the security of an account, to make it less likely that an other person will manage to log in instead of you.
Practically, it means storing a secret inside an authenticator (usually your cell phone) and exchanging a code from the authenticator when you try to log in.
This means an attacker needs both to have guessed (or found) your password and to access (or steal) your authenticator, a more difficult proposition than either one or the other.
Requirements
Note
These lists are just examples, they are not endorsements of any specific software.
If you don’t already have one, you will need to choose an authenticator.
Phone-based authenticators are the easiest and most common so we will assume you’ll pick and install one on your phone, examples include Authy, FreeOTP, Google Authenticator, LastPass Authenticator, Microsoft Authenticator, …; password managers also commonly include 2FA support e.g. 1Password, Bitwarden, …
For the sake of demonstration we will be using Google Authenticator (not because it is any good but because it is quite common).
Setting up two-factor authentication
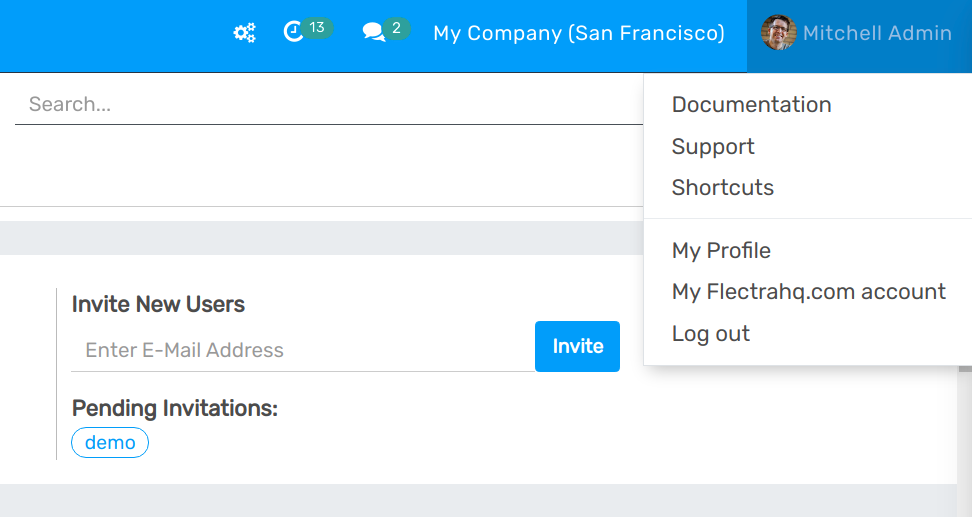
Once you have your authenticator of choice, go to the Flectra instance you want to setup 2FA, then open Preferences (or My Profile):
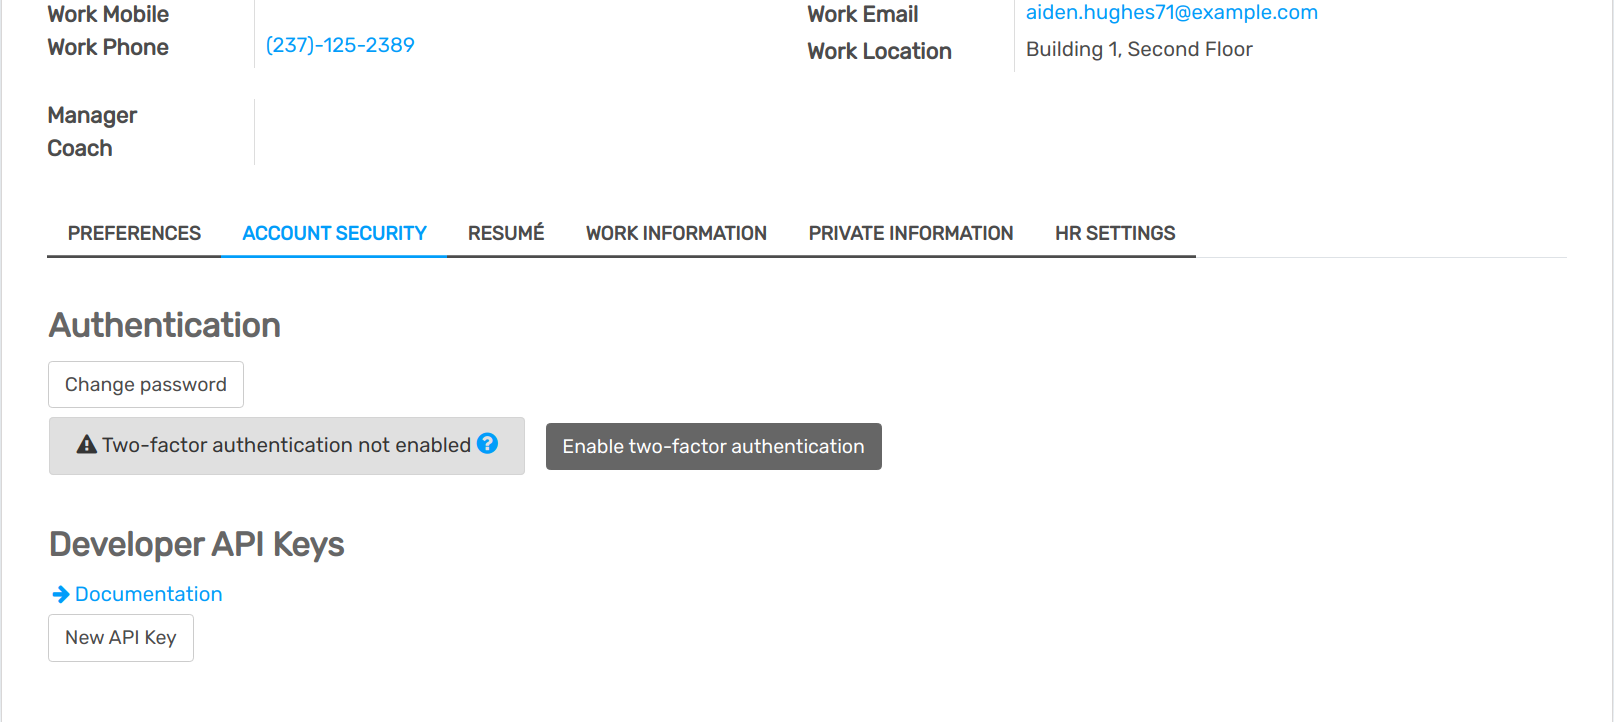
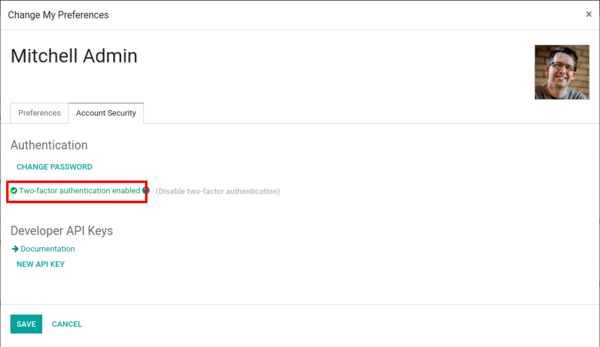
Open the Account Security tab, then click the Enable two-factor authentication button:
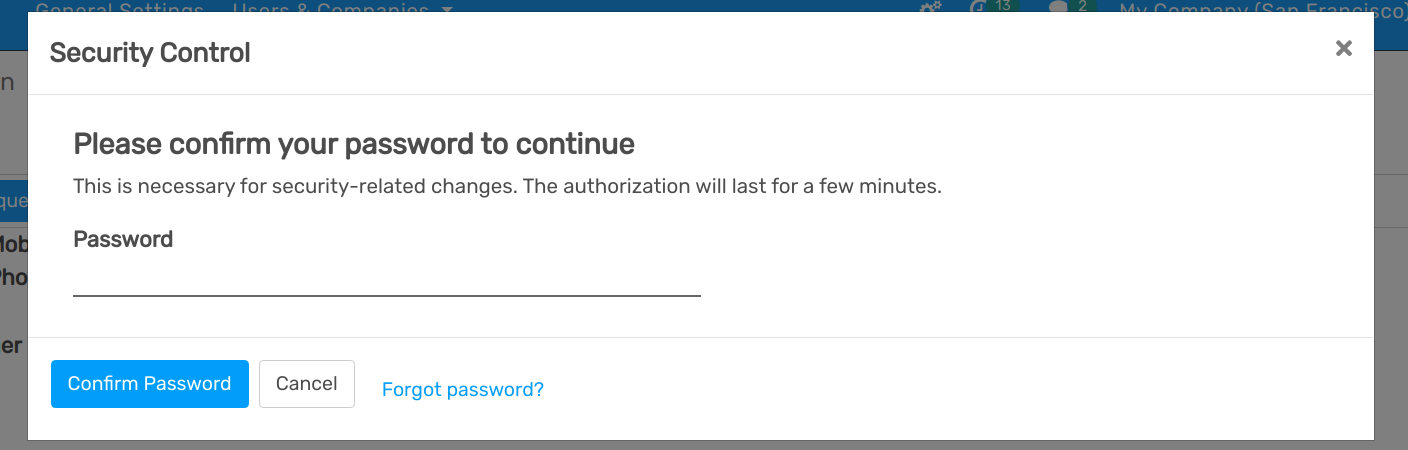
Because this is a security-sensitive action, you will need to input your password:
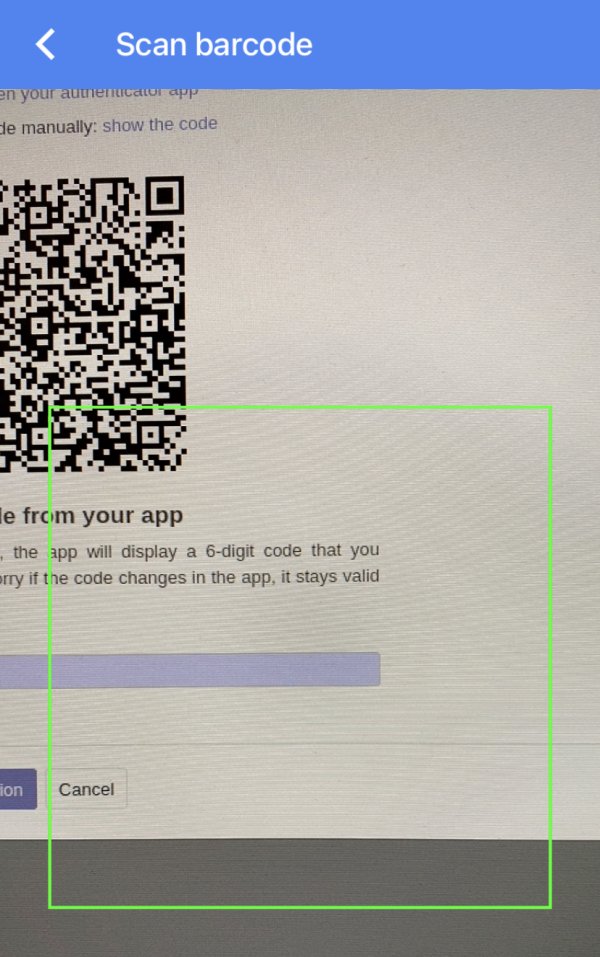
After which you will see this screen with a barcode:
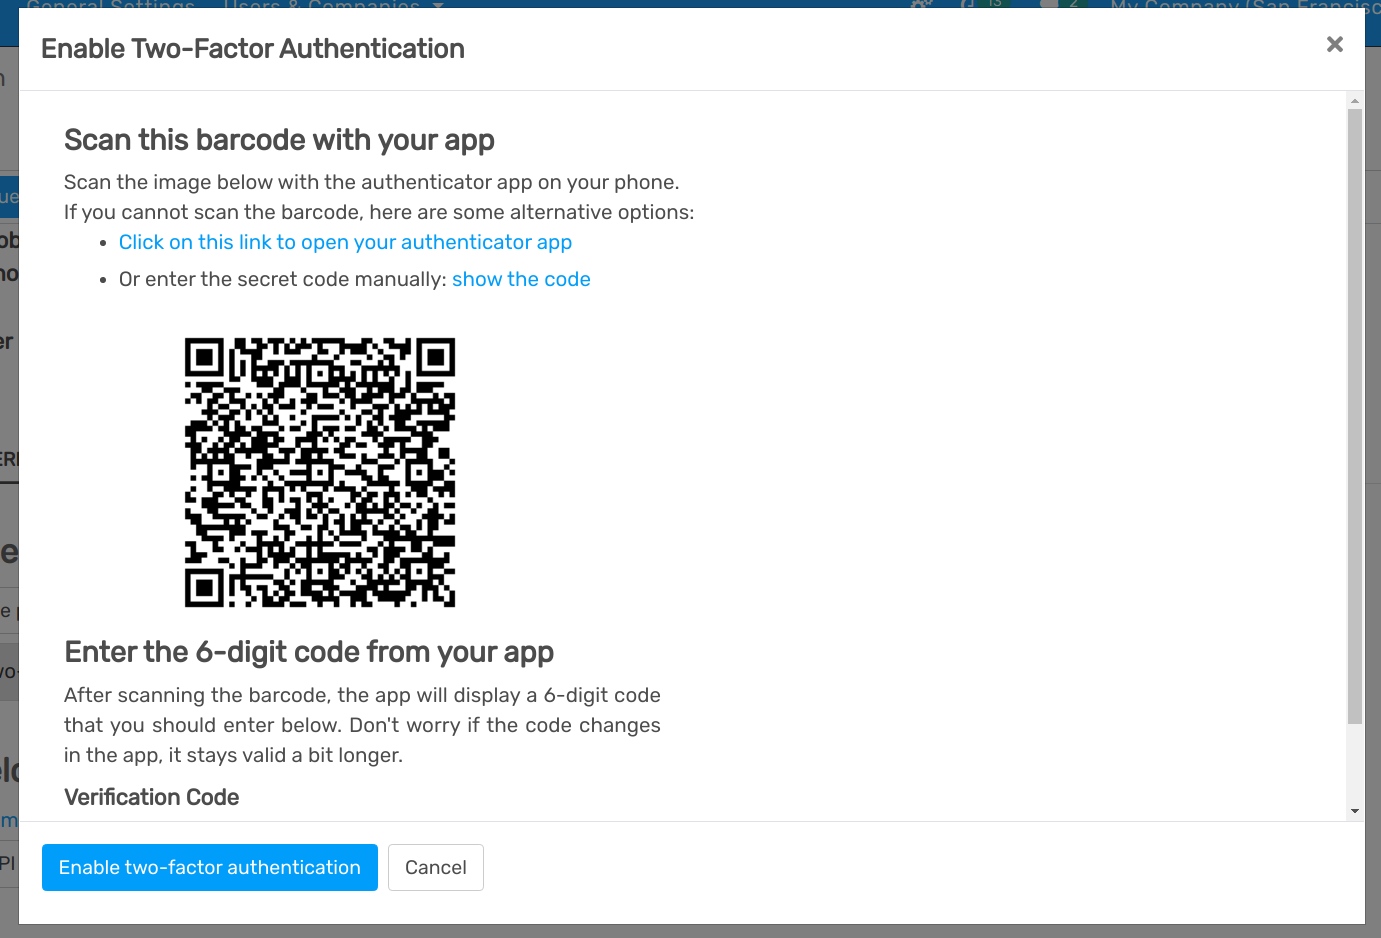
In most applications, you can simply scan the barcode via the authenticator of your choice, the authenticator will then take care of all the setup:
Note
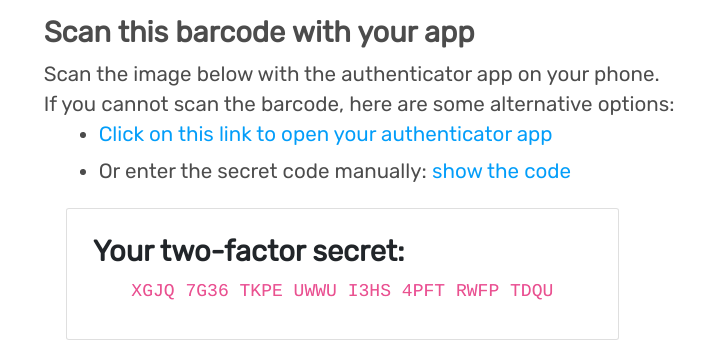
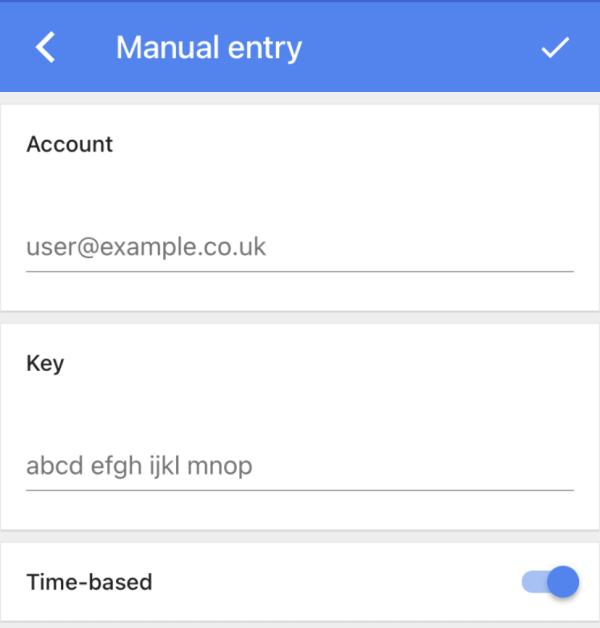
If you can not scan the screen (e.g. because you are doing this set-up on the same phone as the authenticator application), you can click the provided link, or copy the secret to manually set-up your authenticator:
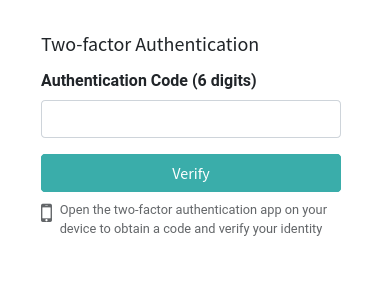
Once this is done, the authenticator should display a verification code with some useful identifying information (e.g. the domain and login for which the code is):
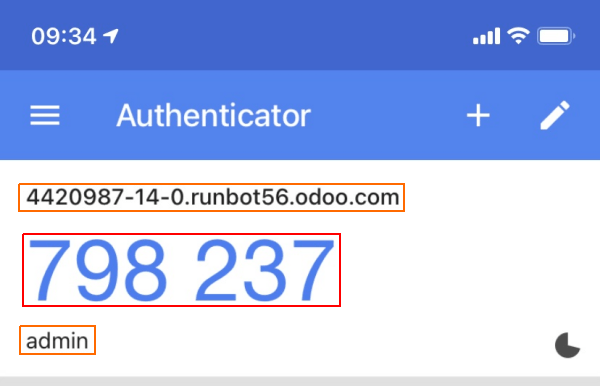
You can now input the code into the Verification Code field, then click the Enable two-factor authentication button.
Congratulation, your account is now protected by two-factor authentication!
Logging in
You should now Log out to follow along.
On the login page, input the username and password of the account for which you set up 2FA, rather than immediately enter Flectra you will now get a second log-in screen:
Get your authenticator, input the code it provides for the domain and account, validate, and you’re now in.
And that’s it. From now on, unless you disable 2FA you will have a two-step log-in process rather than the old one-step process.
Danger
Don’t lose your authenticator, if you do, you will need an Flectra Administrator to disable 2FA on the account.