How to Configure Signnow
Configure Signnow
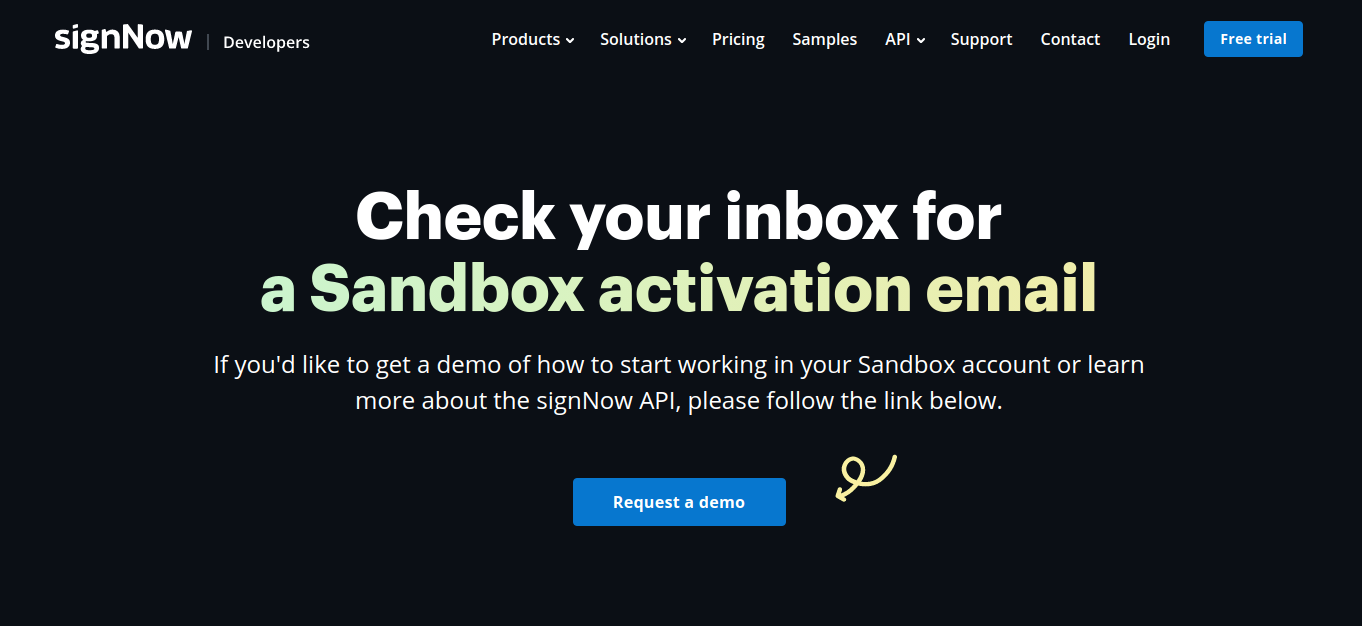
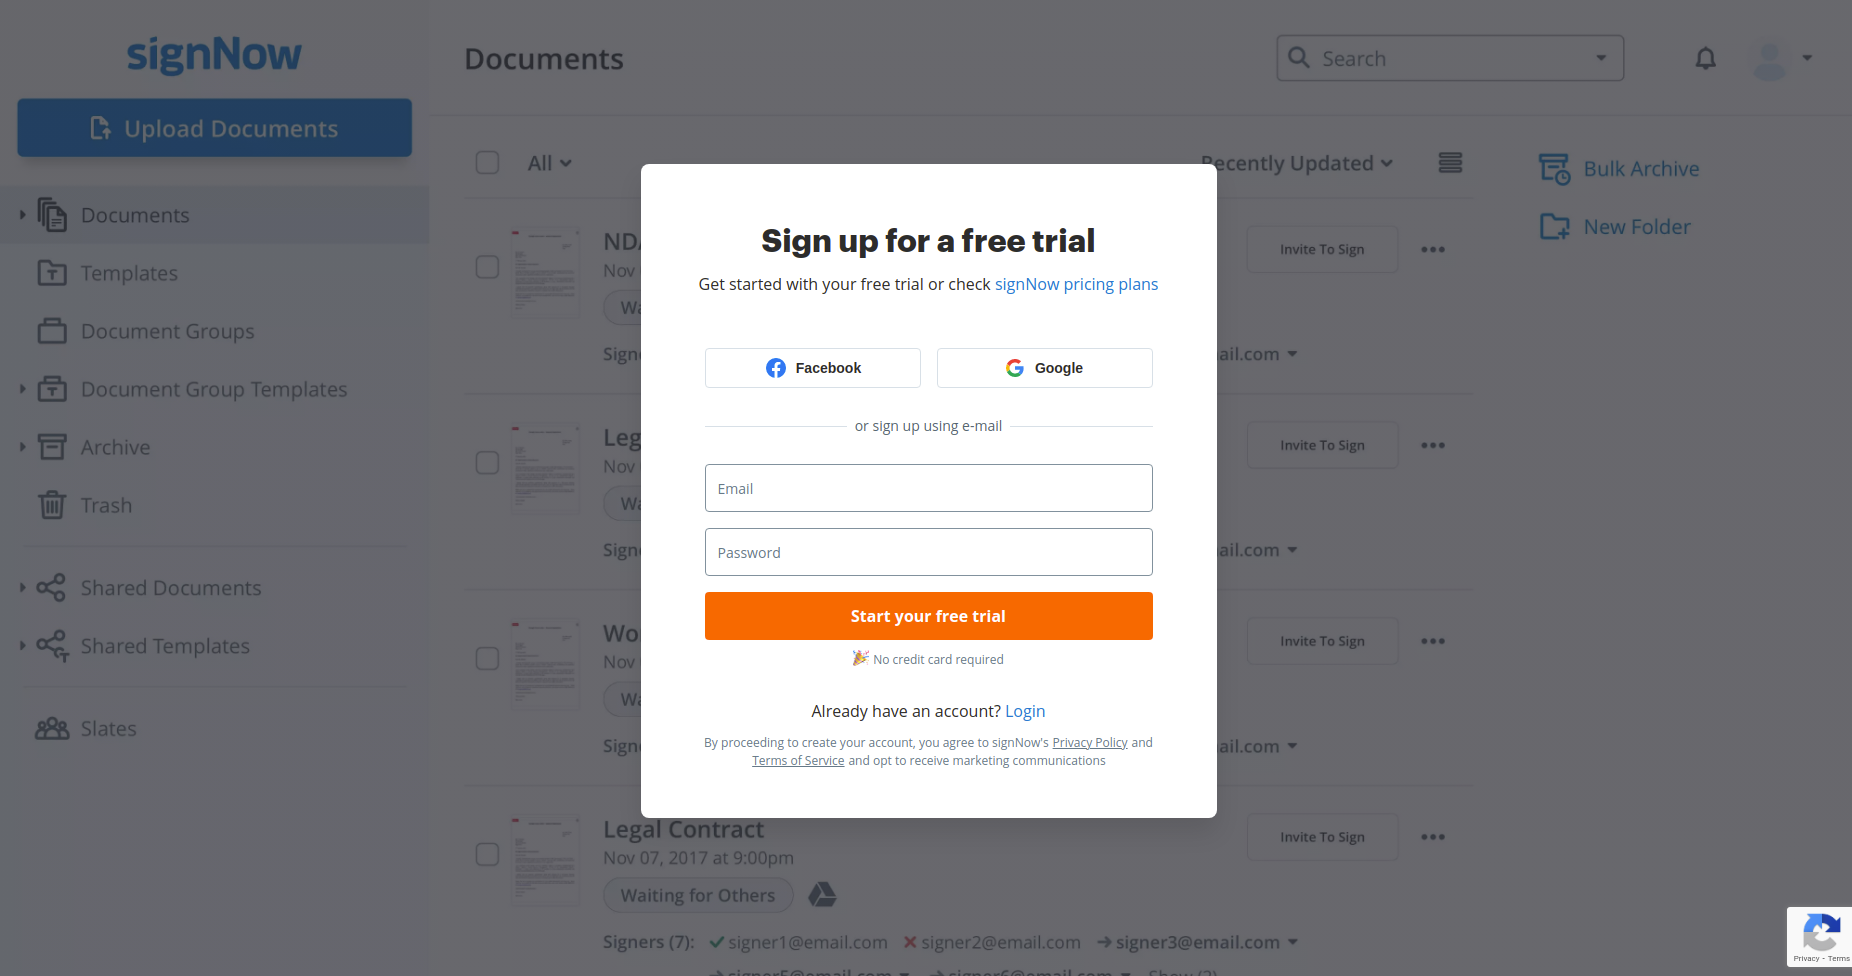
Go to ‘https://www.signnow.com/’ and create your Signnow developer account.
Login in signnow account.
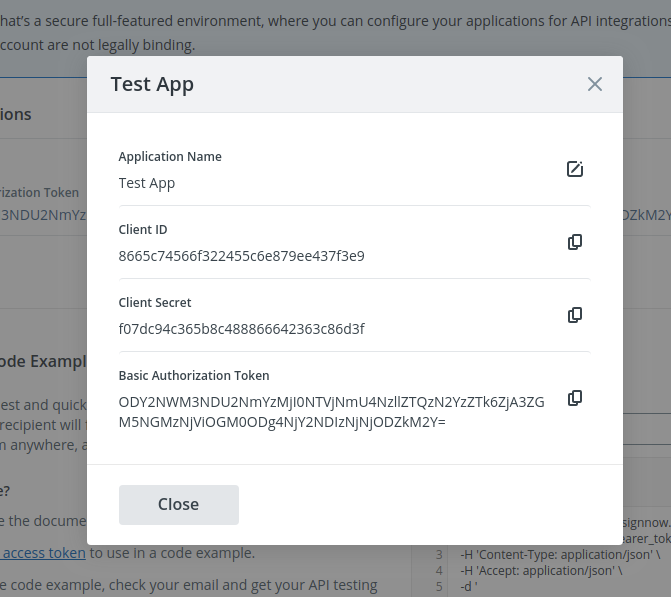
Go to Api, click on Test app and open edit mode.
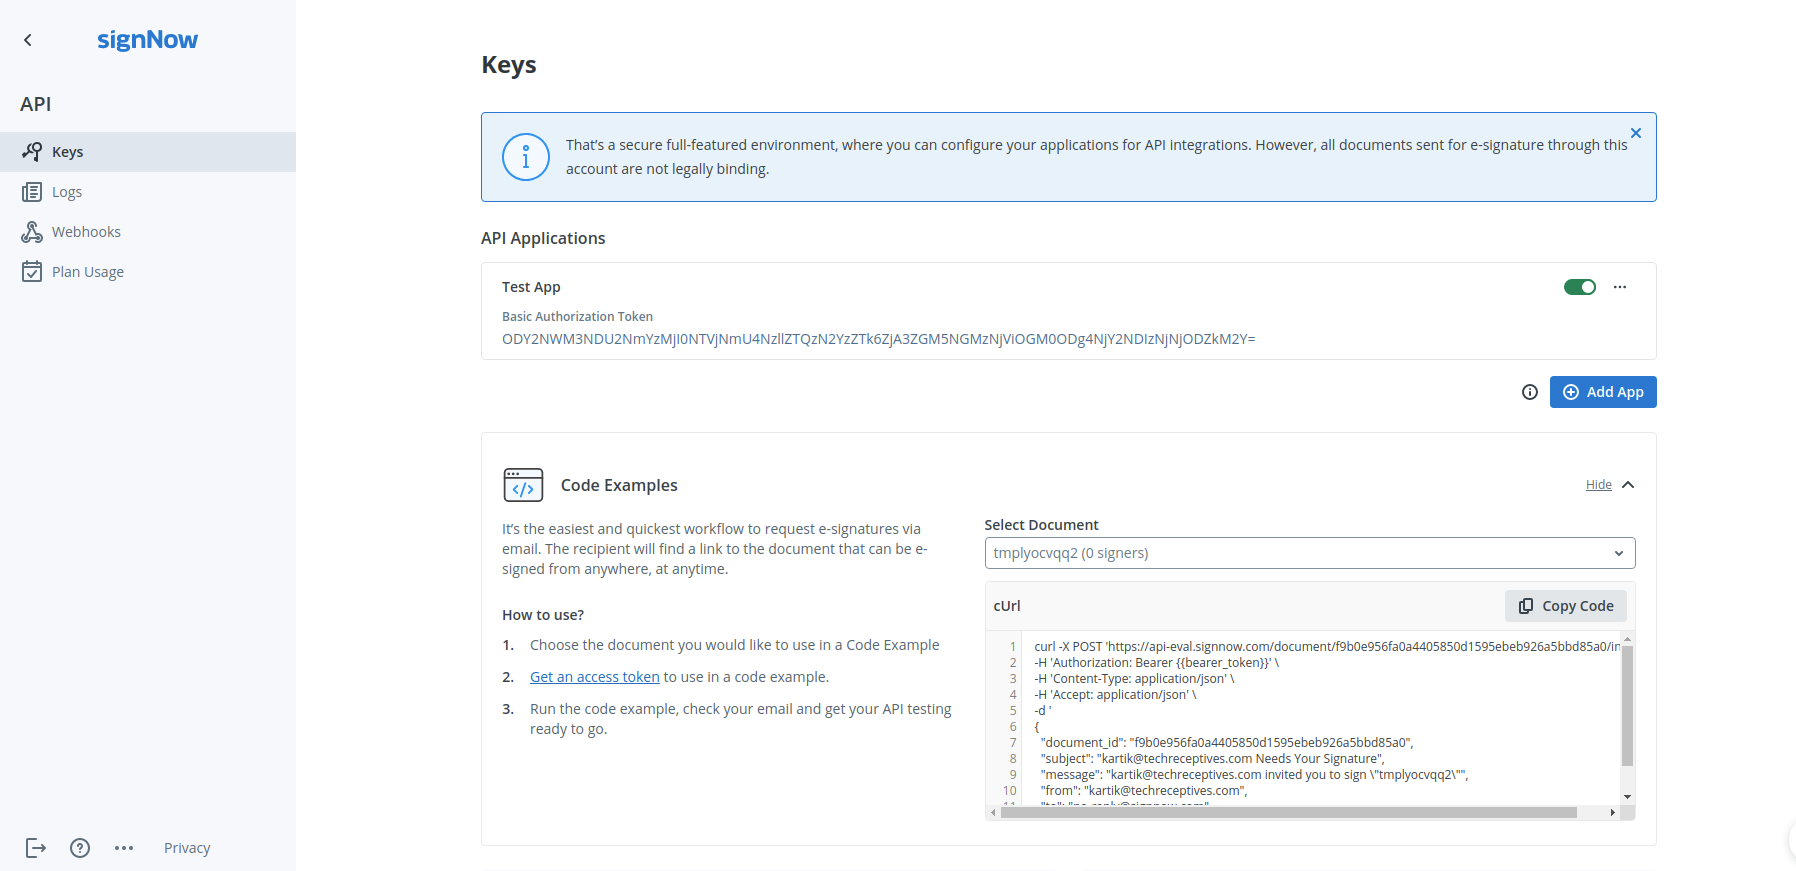
Copy and save your required credential for the forther use.
How to Configure Signnow in Flectra
Go to .
Click on Create to create .
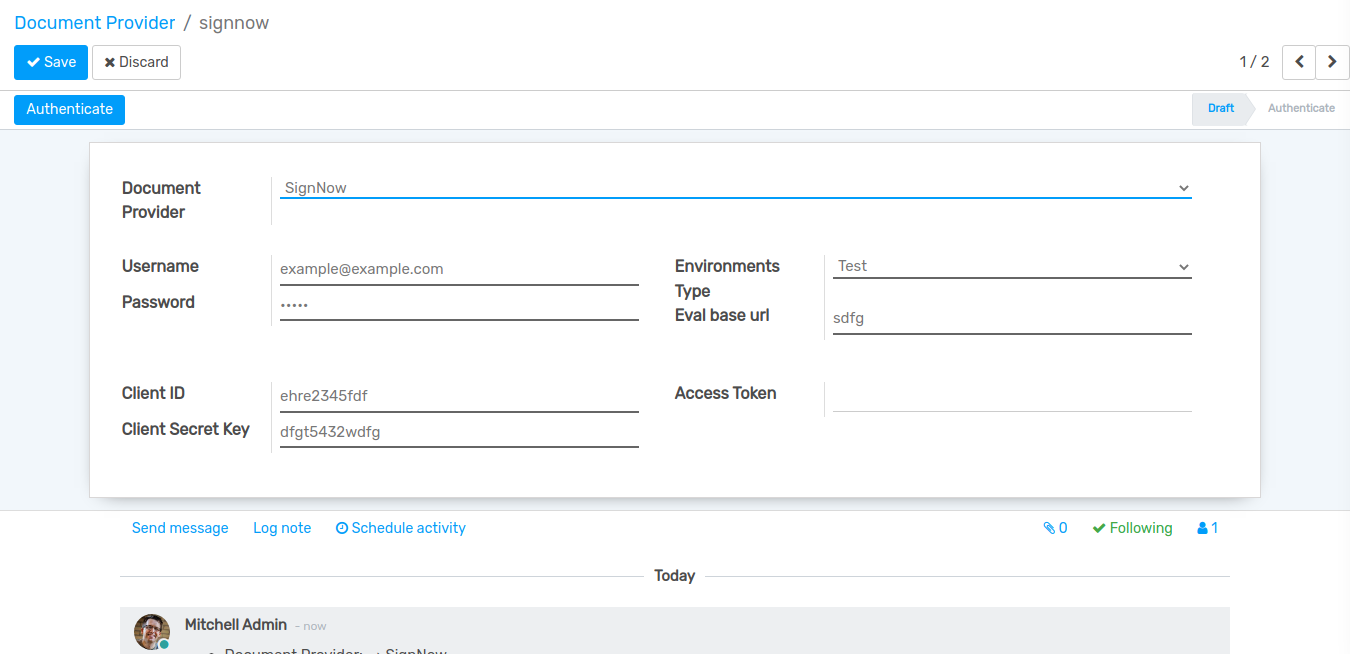
Fill the given required fields and click on Authenticate button.
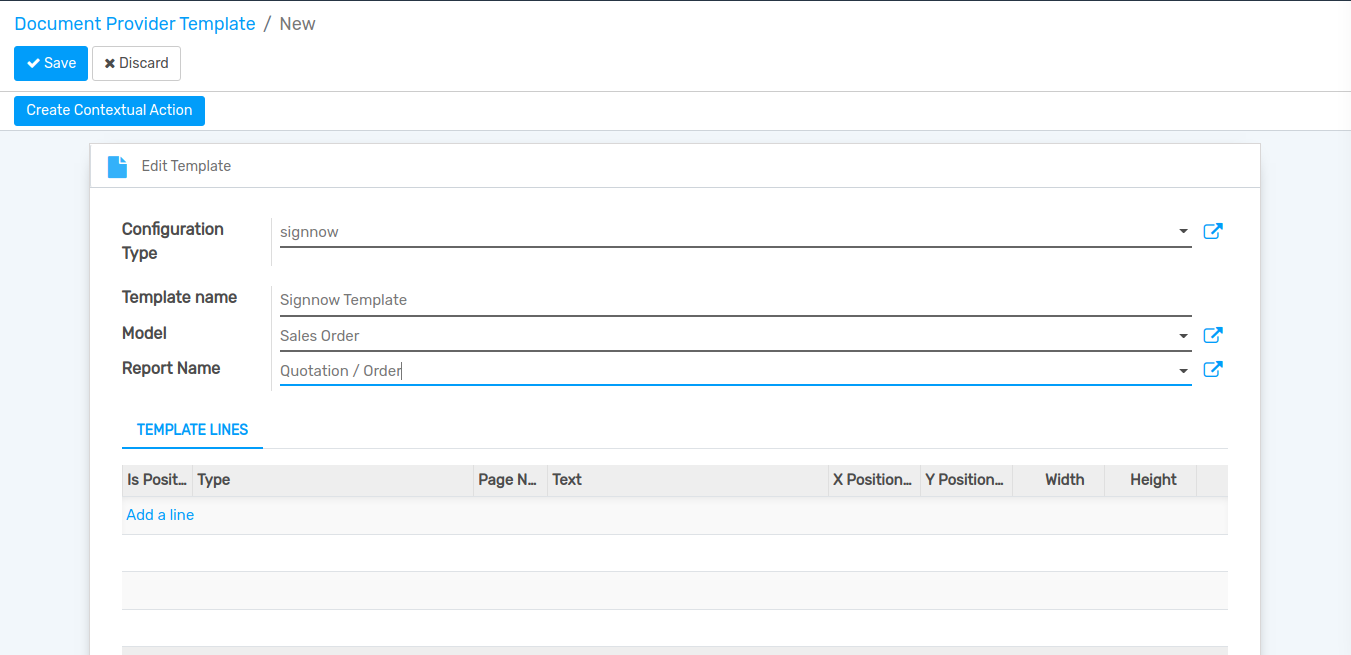
Go to .
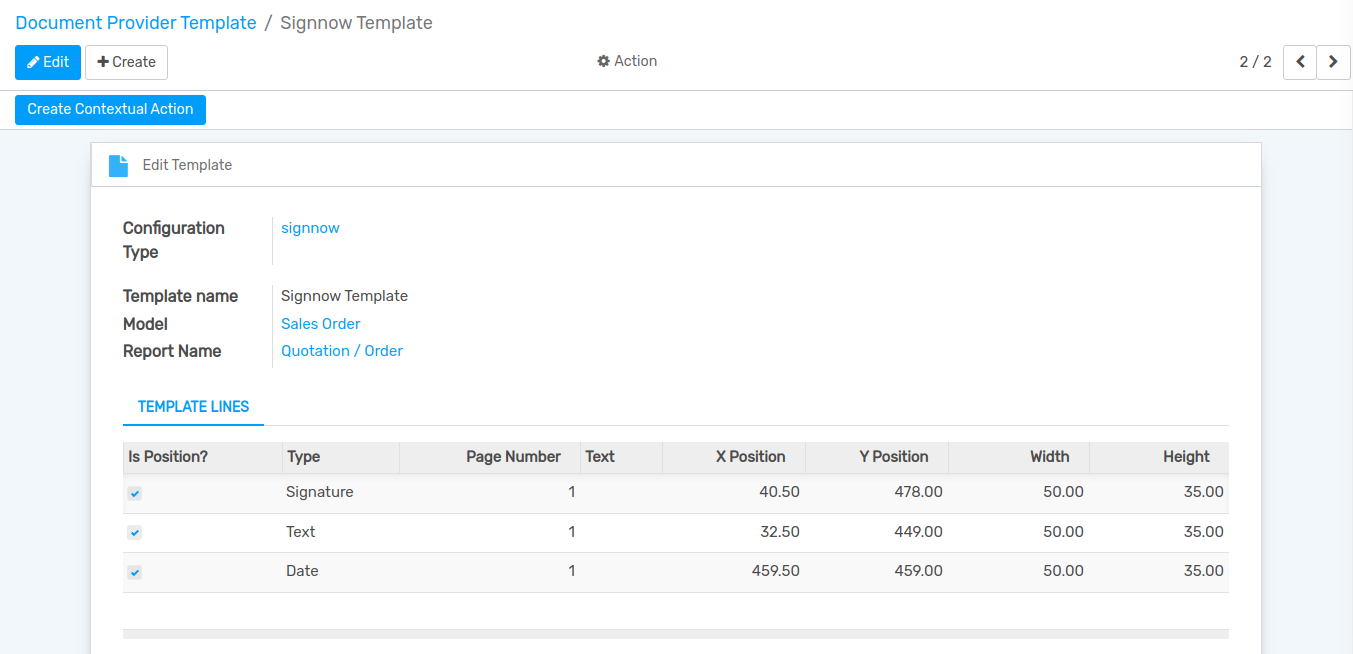
Create Signnow Template Fill the fields then click on Edit template.
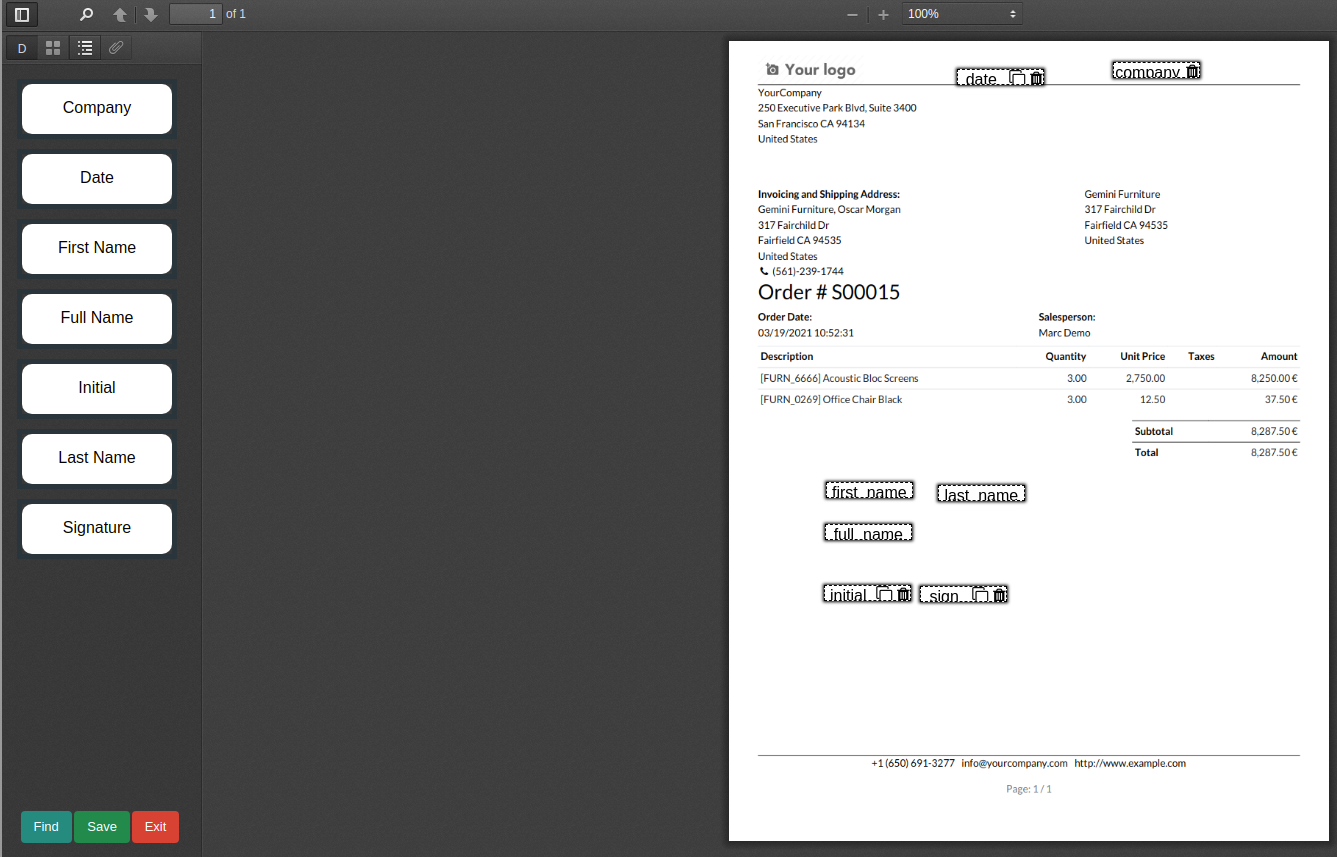
Set Your fields using this drag and drop features and click on save button.
Save document and click Create Contextual Action button.
Open Sale Order and click on Action Menu.Click on Ready to send button and it’s automatically send data to document upload stage.
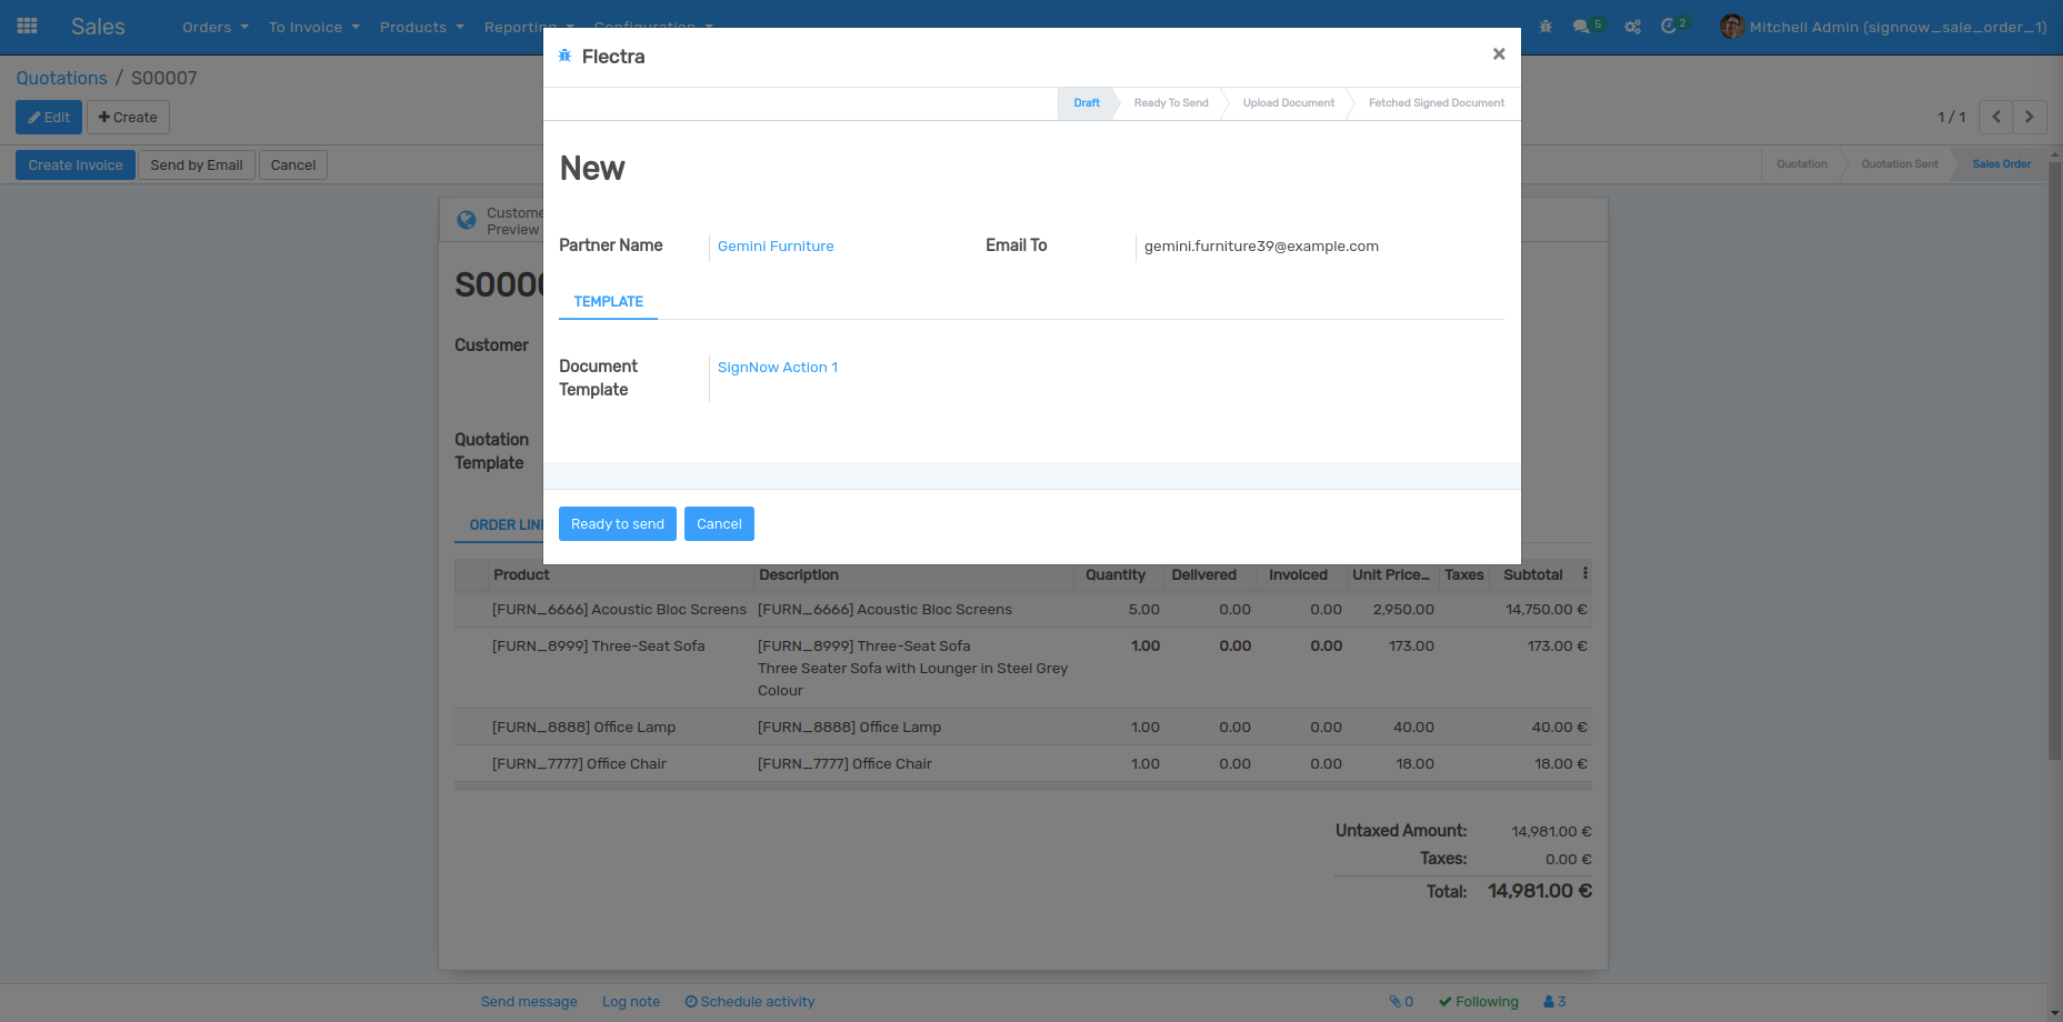
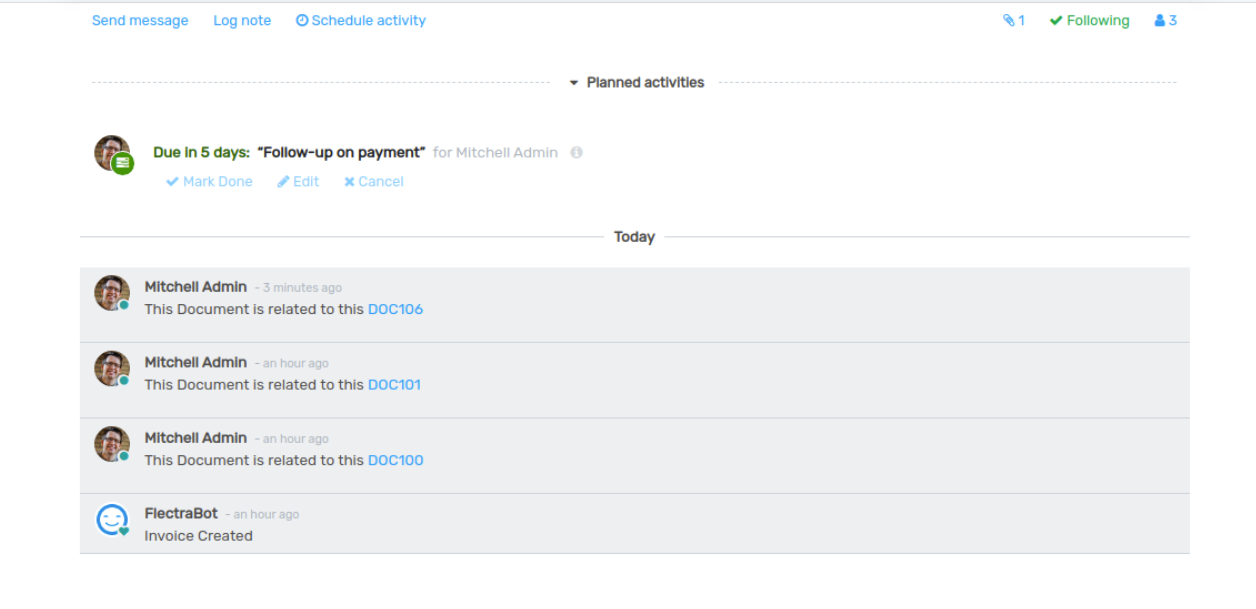
Then you can check your document status in chatter-box via it’s document-id.