Manage Multi Websites
Flectra’s Multi-Websites opens up broad possibilities of diversification and customer segmentation for your business. A multiplied audience and boosted revenue are now just a few clicks away!
Each website can work in a fully independent way, with its theme, branding, domain name, header & footer, pages, languages, products, blog posts, forum, slides, events, live chat channels, etc. Let’s go for a tour!
Setup
To create a new website, go to . The button, Create a new website, lays in the first section.

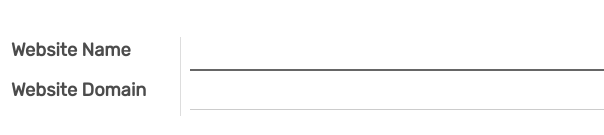
In the upcoming prompt, set a name for your new website and a specific domain name. Leave empty to publish the new website under the default domain of your Flectra database. You can later set some country groups to redirect visitors to it using Geo IP.
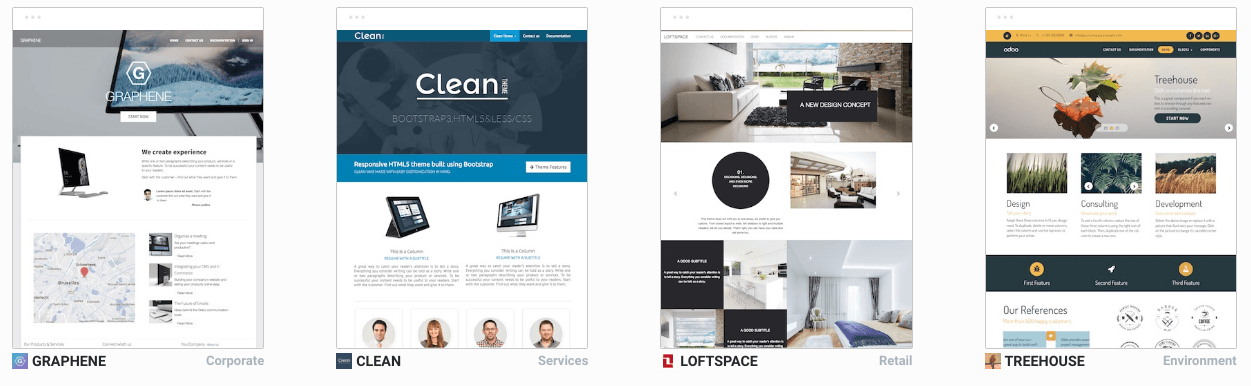
Then, select a theme. This new website might have an entirely different purpose or audience than the first one. So feel free to go for a different theme!
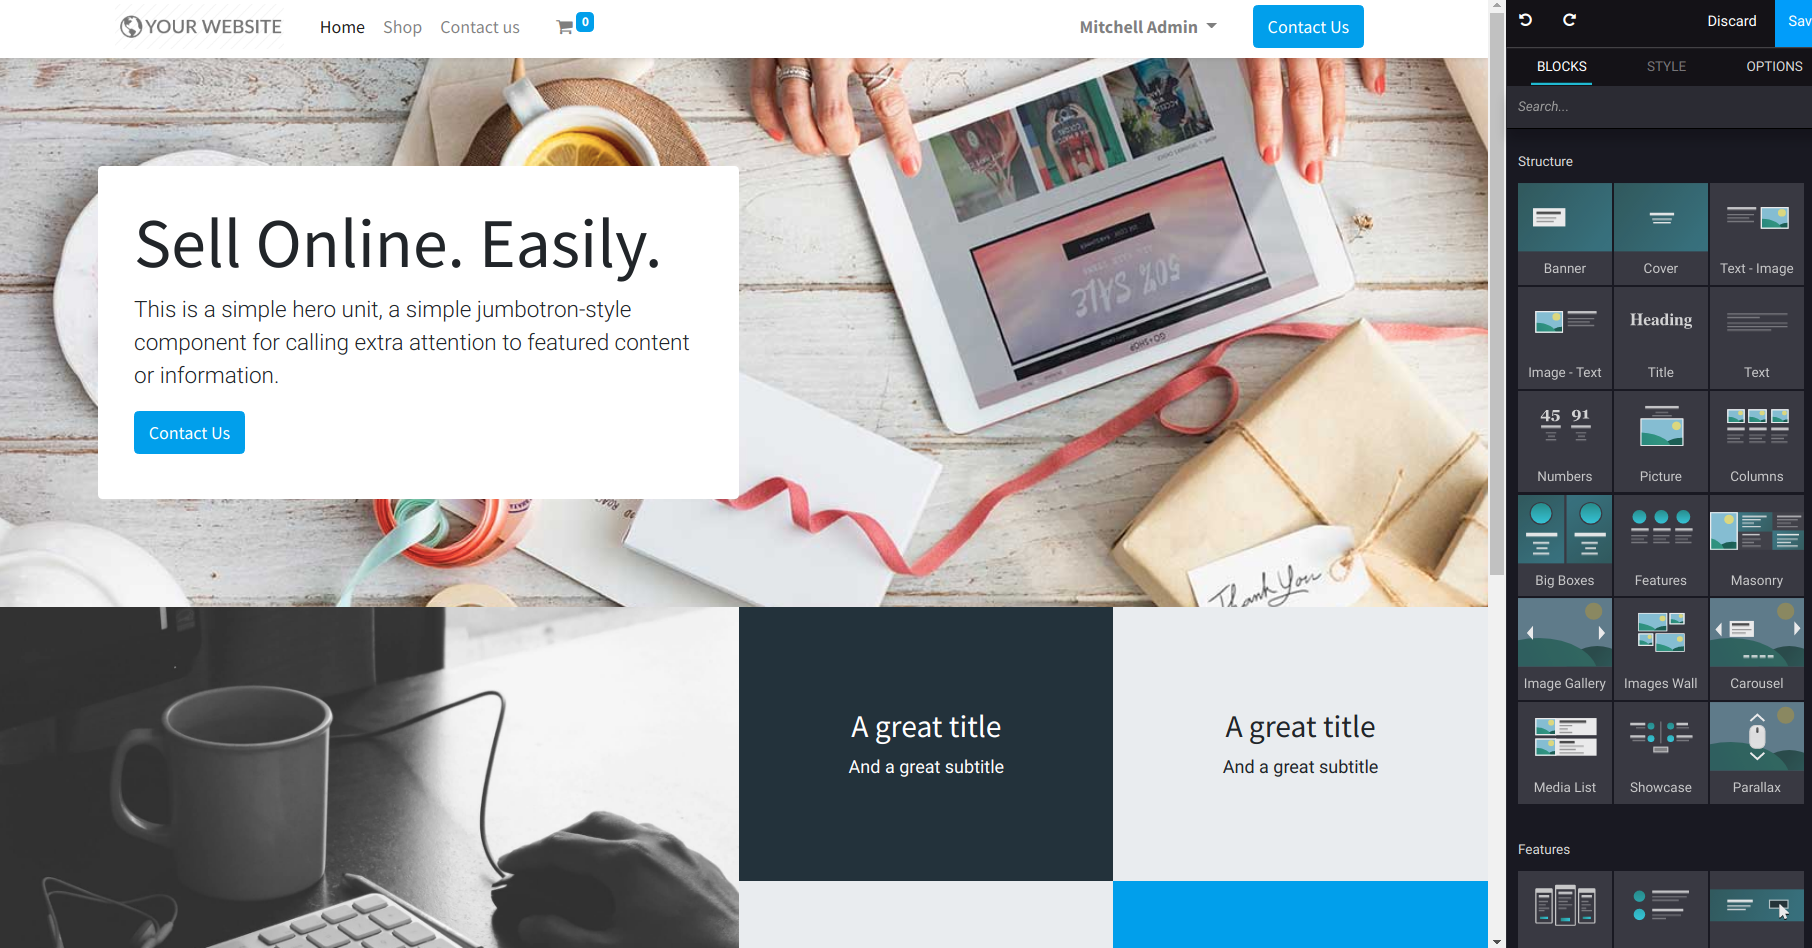
Once the theme is selected, you can start to build the homepage of your website. Follow the purple drops; they will help you in the first steps.
Switch from one website to another
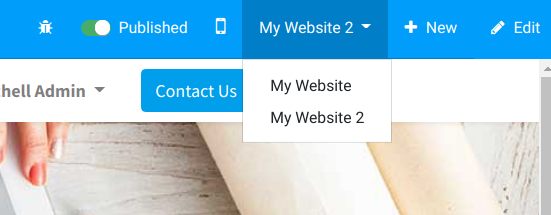
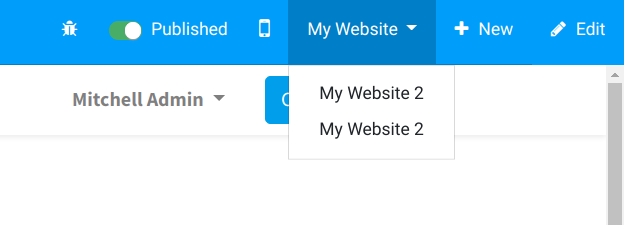
As easy as ABC! There is a website switcher in the right corner of the edit bar. Switching to another website will connect to the domain of this website. If you use another domain for the website, the user is requested to sign in.
Note
When switching, you are redirected to the same domain path on the other website
(e.g., /shop/myproduct). If this URL is not used, you will be redirected to a 404 page but
prompted to create a new page from there.
Add features
The website apps you install (e.g., Slides, Blogs) are made available on all your websites. You can, of course, keep them hidden in one website by removing the menu item.
Each website comes with a high range of specific options in the settings. First, select the website to configure.

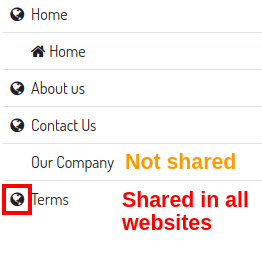
Then, take a look at the options flagged with the earth icon. It means they only impact the very website you are working on.
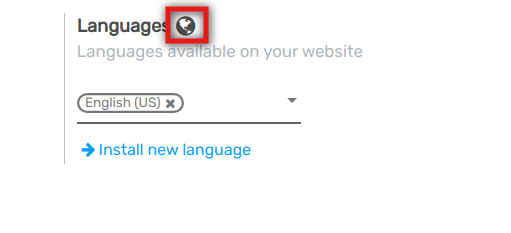
You can, for instance, set specific :
languages,
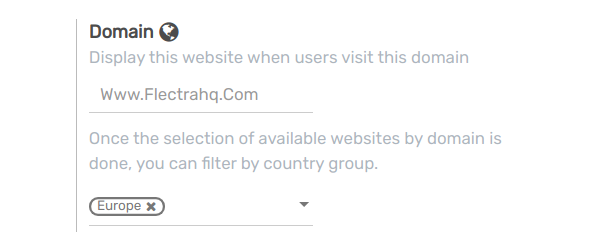
domain names,
social media links,
customer portal mode (B2C vs. B2B),
dedicated live chat channels,
etc.
The other options are global and apply to all your websites.
Manage domain names
As said earlier, your websites can either share the same domain name or use a specific one. If you share it and want to adapt the content per region, set country groups in the setting of each website. Visitors will be redirected to the right website using GeoIP.
Note
Geo IP is installed by default in Flectra Online. If you run Flectra on-premise, don’t forget to install GeoIP library. See Geo IP Installation (On-Premises Database)
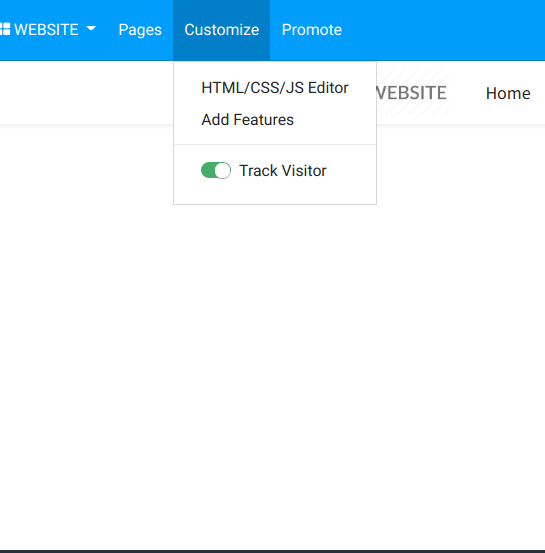
Customize the visitor experience
The customer experience can be customized very profoundly thanks to the menu *Customize*. All the visual options available there are specific to each website. Go through the different pages to adapt them to this new audience. Focus on workflows, and automatic pages (eCommerce checkout, blogs, events, etc.) as the number of available options is higher there.
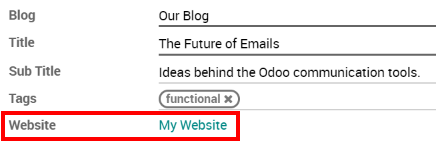
Publish specific content per website
Like static pages, any content created from the front-end (product, blog post, etc.) is always only published in the current website. You can change that from the edit form view in the backend and leave the Website field blank. This will publish it in all the websites.
Here are all the objects that you can link to either one or all the websites:
Products
Product Categories for eCommerce
Blogs
Slide Channels
Forums
Events
Job Positions
Note
When you create the record from the backend and publish it, typically a product or an event, it is made available in all websites.
Publish a page in all websites
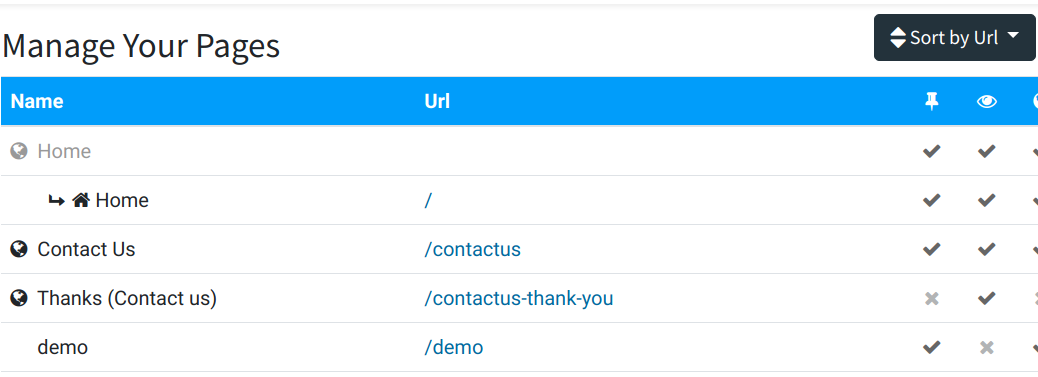
A new static page is created and only made available in the current website. You can duplicate it to other websites from . To do so, leave the Website field empty.
If you want to duplicate it in just one other website, duplicate the page and set the new website.
When you edit the page again, the change only affects the current website. A new page is duplicated and tied up to the website. The original page still being linked to all websites.
Tip
By grouping pages by URL in the page manager, you quickly find the original page behind each edited page.
Multi-companies
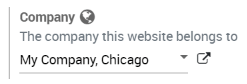
Each website can be linked to a specific company of your system, in a multi-companies environment.
With such a configuration, only company-related data appear on the website (products, jobs, events, etc.).
Website editors can only view and edit the pages of the records they have access to, typically the ones belonging to their current company (and to their subsidiaries, or child companies in Flectra language). And so is it for visitors.
Note
If websites are multi-companies, you don’t change company when switching websites. To change the company and see the related content, use the company selector in the menu.
Configure your eCommerce website
eCommerce is a crucial feature in the multi-websites environment. We made it so that the entire flow can be customized to fit the very audience of each website.
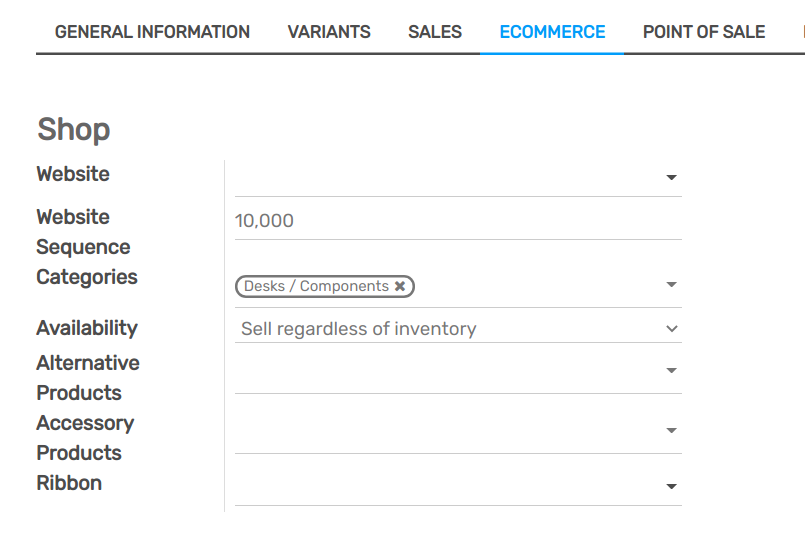
Products only available on one website
We already saw earlier how to publish a specific record in only one website. You will find the *Website* field in the eCommerce tab of the product edit form. Empty means available in all websites.
Products available on some websites
To make a product available on some websites, but not all of them, you should duplicate the product for each website.
If you need a unique reference to manage in your inventory, you should install Manufacturingand create *Kits BoMs (bills of materials). Each kit will link each published “virtual” product to the main reference managed in your inventory. That way, any item sold from your website will be converted into the storable item in the delivery order.
Pricelists
To manage specific prices by websites, you can activate Multiple Sales Prices per Product in Website settings.
Then, go to to create additional pricelists. See Adapt prices to website visitors.
If you need help. Select a website to make a pricelist only available on this website.
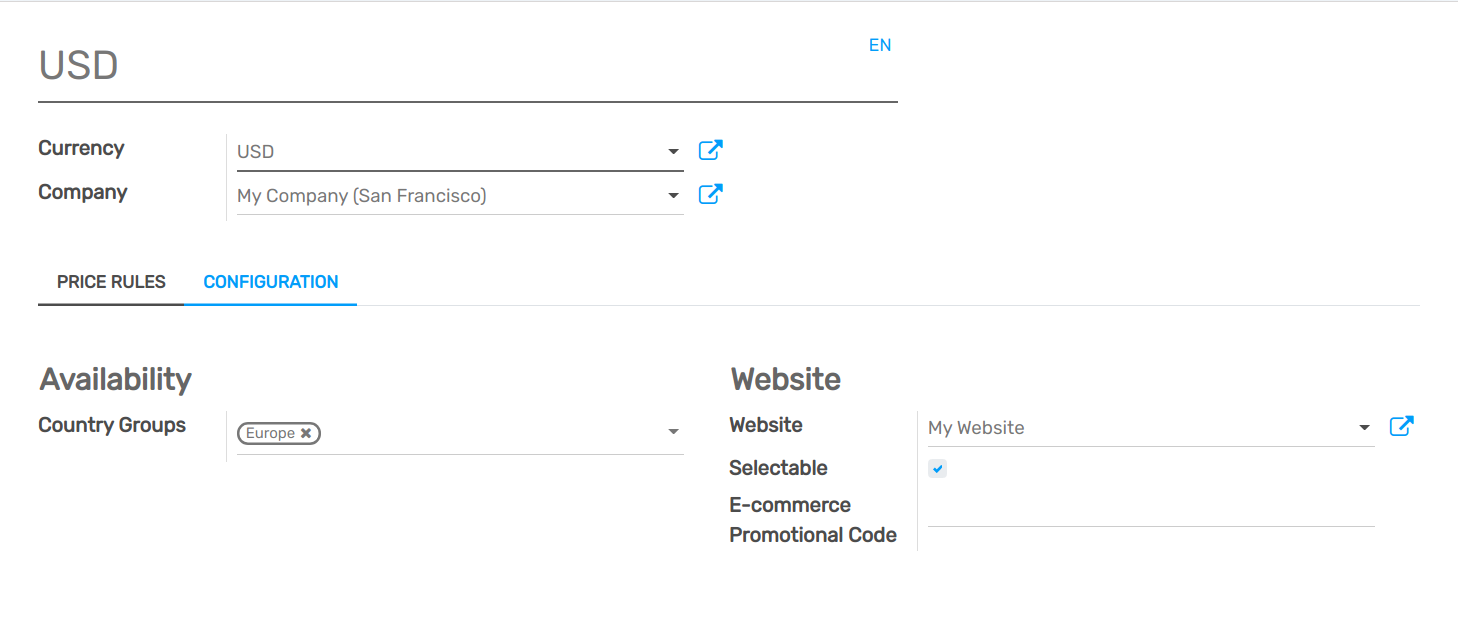
Leaving the field empty means that you make it work in all websites if Selectable is selected. Otherwise, it makes it only available for backend operations of Sales and Point of Sale applications.
Payment Acquirers and Delivery Methods
By default, published payment acquirers and delivery methods are deployed in all websites. You could already use specific payment acquirers per country using Geo IP by defining countries in their configuration. Now you can also do it per website by filling in the Website field.
Customer accounts
There is a setting to choose how to manage customer accounts in Website settings. You can either allow customers to use one account through all the websites or compel them to create one account for each website. This last option is convenient if your websites shouldn’t be related to each other in the visitor mind.

Technical hints for customization
If you want to publish custom objects on the website, here are a few tips to make it work with multi websites:
- Sitemap: don’t forget the domain in the route to only publish
available records in each website’s sitemap.
- Access: you should call the method
can_access_from_current_website in the controller to make sure the visitor can see a record in the current website.
- Search: when a list of records is displayed, don’t forget to specify
the domain to only display records available for the current website.
