Easypost Shipping API
EasyPost is a software company that helps businesses integrate shipping from the major carriers. It has accross 60+ carriers. To start working with Easypost, you need to install easypost api(sudo apt-get install easypost).
Get Credentials
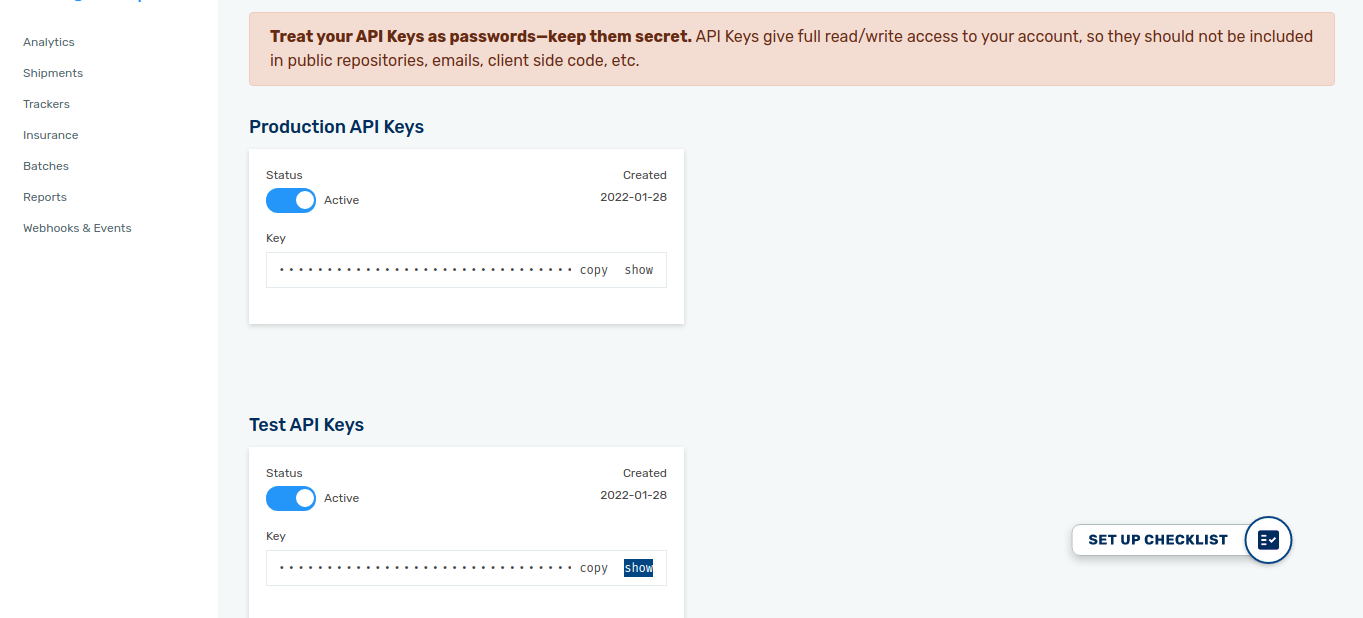
Login into the dashboard of Easypost. Easypost will provide you API KEY.
Carrier Account ID
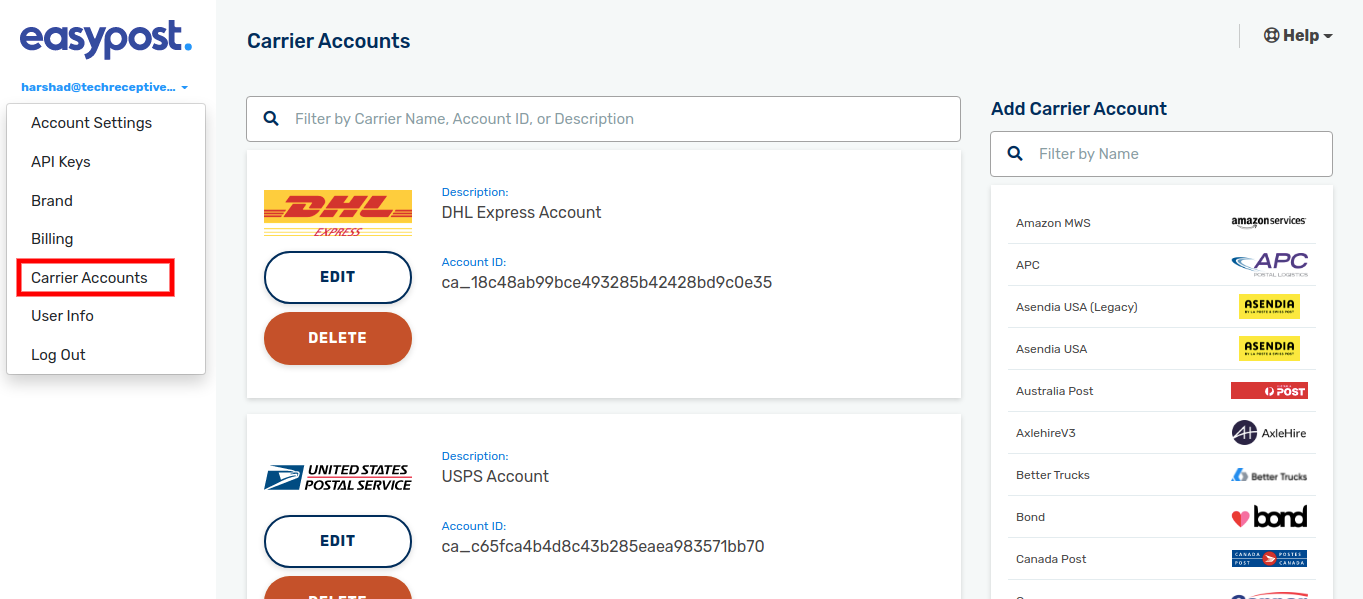
You will get the carrier account ID from the Easypost Dashboard. Go to .
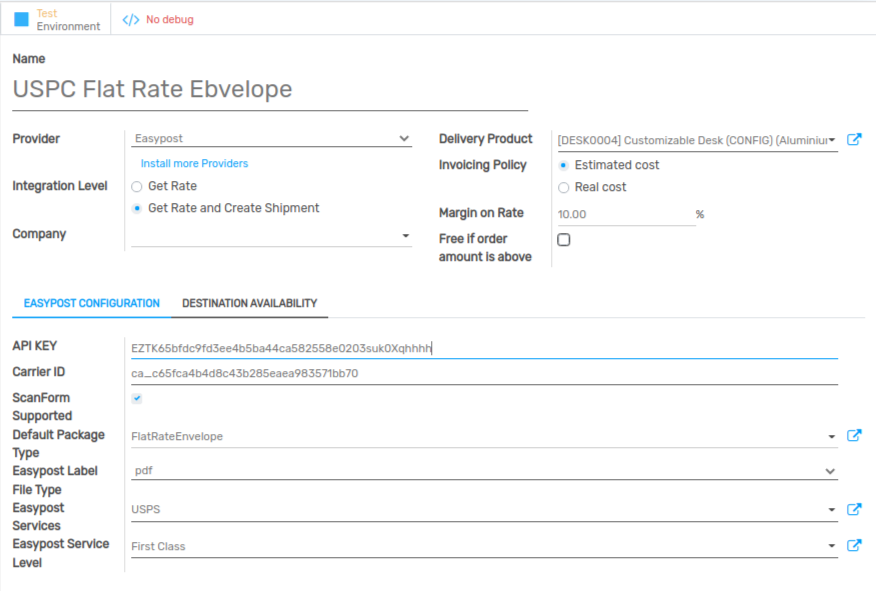
Easypost Configuration
Delivery method name should be delivery carrier name and the package name.
If your easypost carrier account support the scanform then tick the ScanForm Supported.
Go to ..
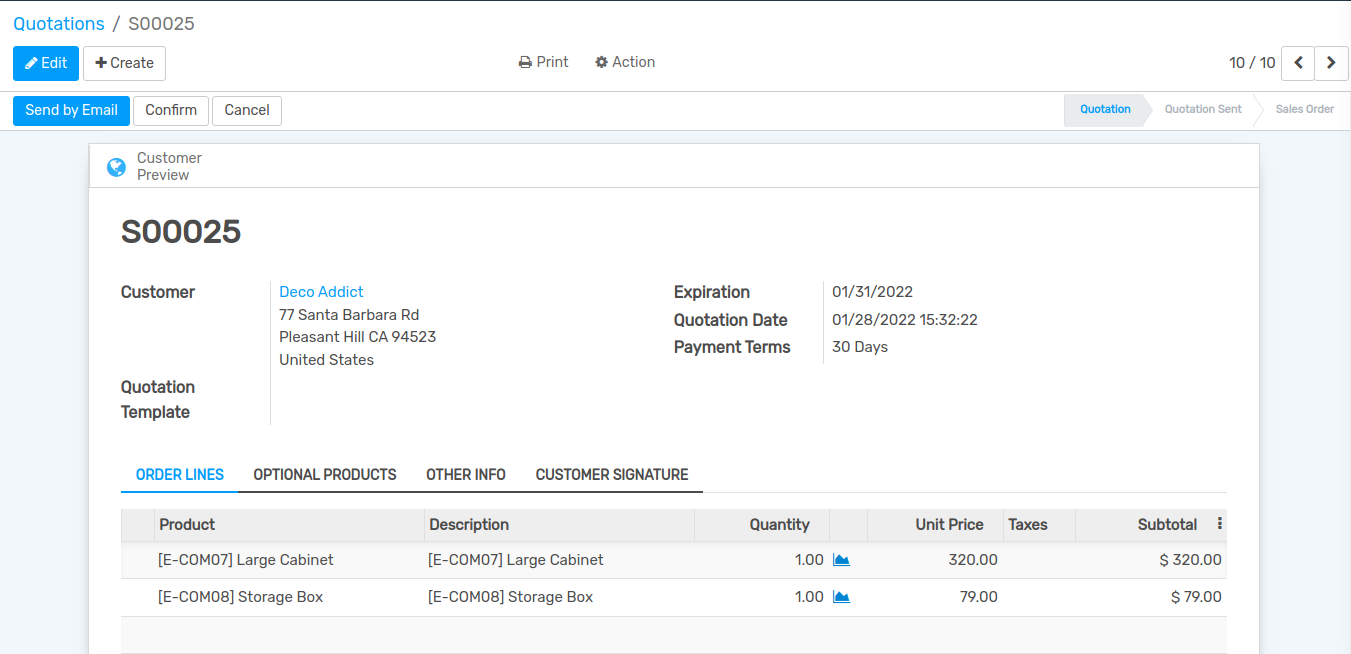
Sale Order
Create new Sale Order and Select the delivery method, you will get the carrier rates of the items. Easypost also supports multi currency.
Note:Address should be correct.
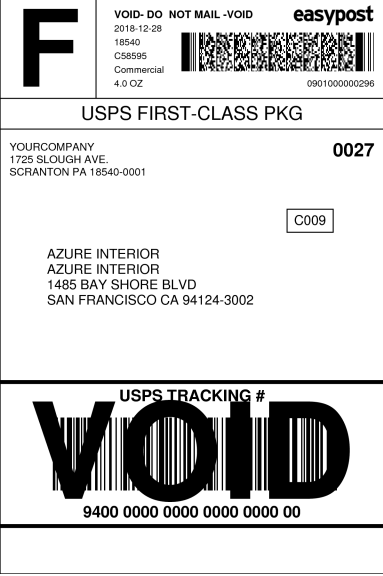
Get Label in attachment
After confirming Sale Order, click on , you will get the label url in attachment.
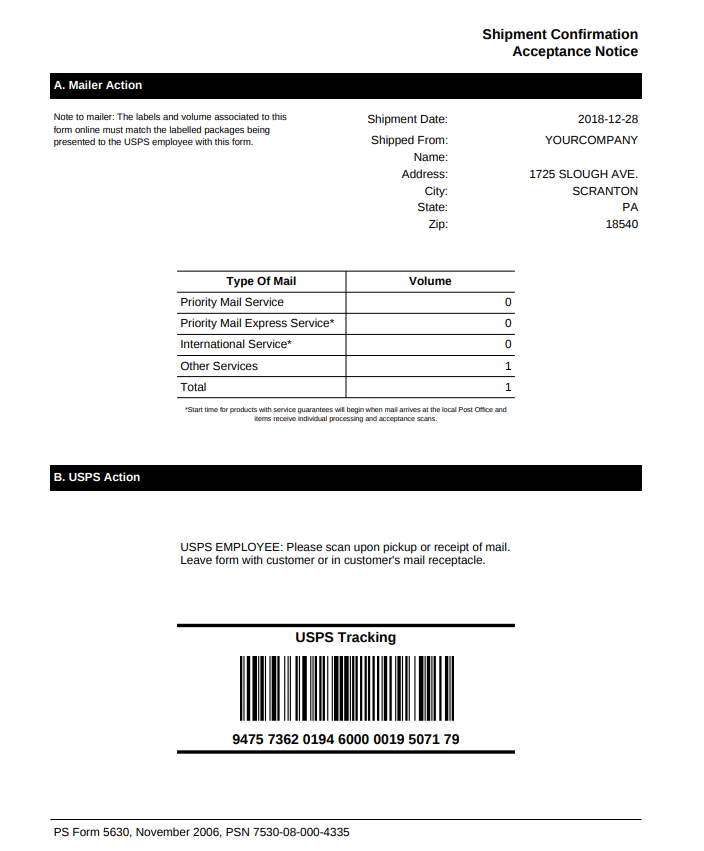
Shipment Label
Shipment Label In Attachment
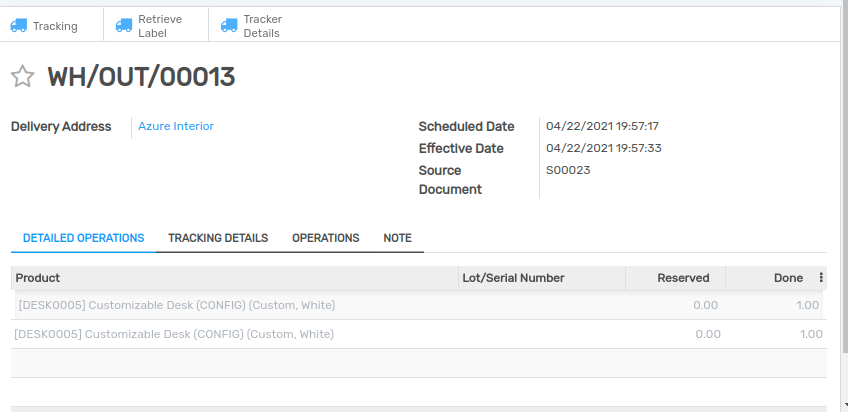
Retrieve Label
If the label is deleted, you can retrieve it by clicking on Retrieve Label.
Tracking URL
Click on Tracking, you will get the tracking url.
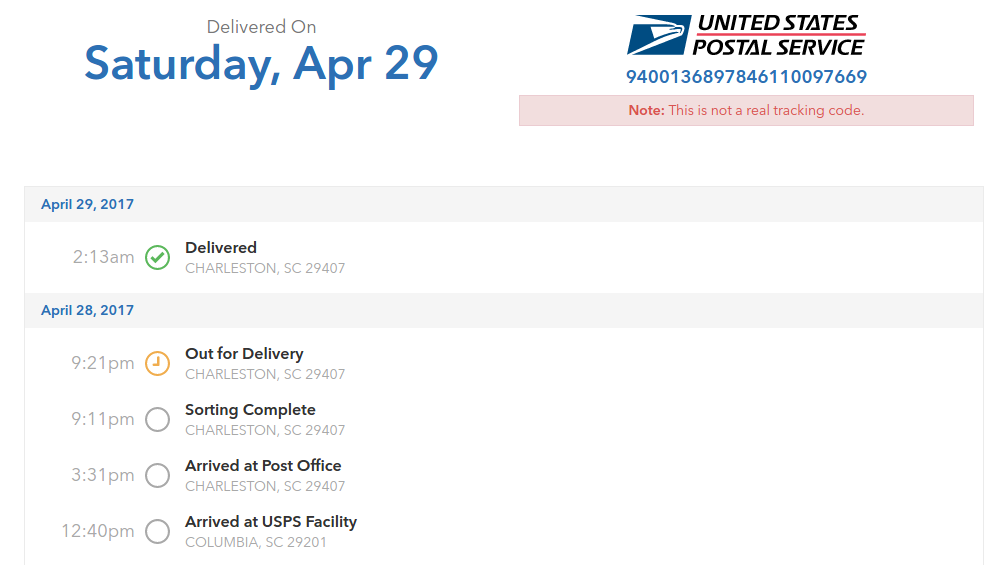
Get Tracking Details
Click On Tracker Details to get the tracker status updated. Also a schedulers runs after every minute Which update the status and other details.

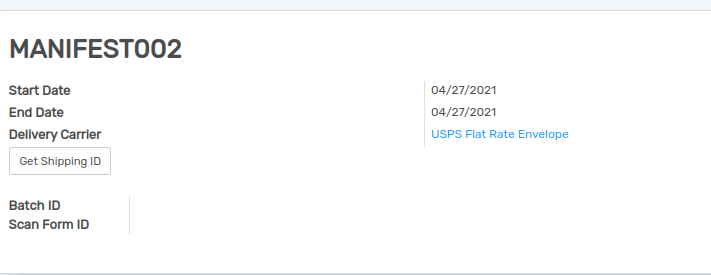
Get Shipping ID
Create new Scanform. Select the starting and ending date.Click on Get Shipping ID, you will get the list of Shipping IDS. Note:The shipping Ids which are already manifested or whose labels are remaining to create will not be shown.
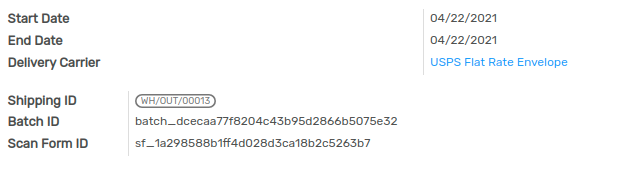
Create Batch and Scanform
Click on Create Batch And Scanform. Batch ID and Scanform ID will be generated.
Postage Label
You will get the postage label in attachment while creating Batch and ScanForm.